
Zawartość nagłówka
The header includes company information, quick-access buttons, and website menus to help users navigate the website effectively. Well-structured, user-friendly headers and menus also play an important role in improving search engine rankings.
Edytor menu
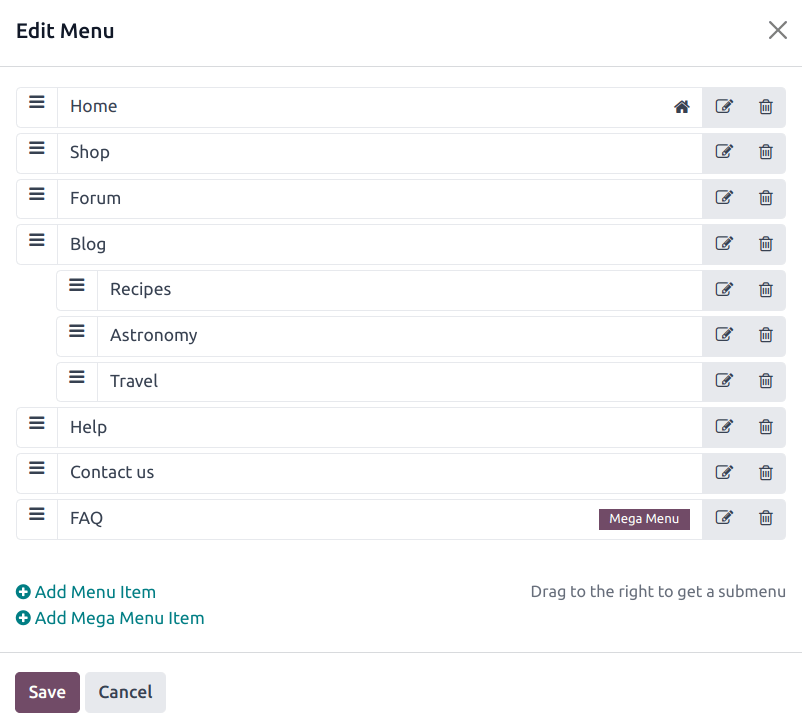
The menu editor allows you to edit the website header and add menu items and mega menus.
Rename a menu item or change its URL using the (Edit Menu Item) icon.
Delete a menu item using the (Delete Menu Item) icon.
Move a menu item by dragging and dropping it to the desired location in the menu.
Create a regular drop-down menu by dragging and dropping the sub-menu items to the right, underneath their parent menu.
Wskazówka
You can also access the menu editor from the website editor. To do so, either:
Select any menu item and click Edit Menu, or

Navigate to the Style tab, and click Edit Menu next to the Header section title.
Mega menu
Mega menus are similar to drop-down menus, but instead of displaying a simple list of sub-menus, they show a panel divided into groups of navigation options. They are especially useful for websites with large amounts of content or e-commerce websites, as they can help include all of the web pages or e-commerce categories in the menu while keeping all menu items visible at once.

To create a mega menu, follow these steps:
In the menu editor, click Add Mega Menu Item.
In the pop-up window, enter the Title of the mega menu.
Kliknij Kontynuuj.
Adjust the menu structure if needed.
Kliknij Zapisz.
Mega menus are built using default building blocks, which means each component must be customized individually. To do so, click Edit in the upper-right corner, then select the mega menu. Then:
Edit the text directly within the building block.
Edit a menu item’s URL by selecting the mega menu item and clicking the Edit button.

Przenieś element menu, przeciągając i upuszczając powiązany blok w żądaną pozycję w mega menu.
Delete a menu item by clicking the (Remove) icon of the related block.