Submit expenses
When expenses have been logged the next step is to submit them for approval, so the expenses can then be reimbursed.
My expenses dashboard
Open the Expenses app, which displays the My Expenses dashboard, by default. Alternatively, navigate to .
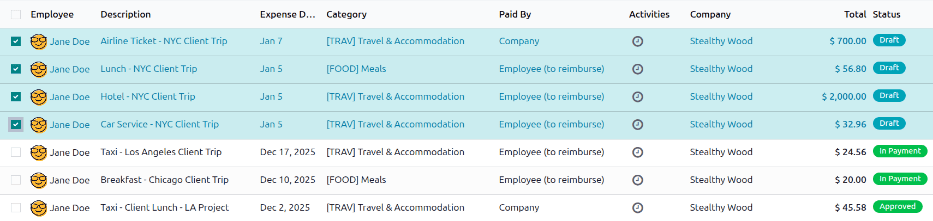
All expenses are color-coded by status. Any expense with a status of Draft (expenses that have been created but not submitted) appears in blue text. For all other statuses (Submitted, Approved, and Refused), the text appears in black.
Above the list of expenses is the total monetary value of all expenses waiting to be submitted, waiting for approval, or waiting for reimbursement. Expenses with a status of Draft are used to calculate the amount in the To Submit field, expenses with a status of Submitted are used to calculate the Waiting Approval amount, and expenses with a status of Approved are used to calculate the Waiting Reimbursement total.

Important
While any expense can be selected from the My Expenses list, the Submit button is only visible when expenses with a status of Draft are selected. If any other status of expense is selected, the Submit button does not appear.
Tip
Another way to select all expenses with a Draft status is to click into the search bar and select To Submit in the Filters column, then click the checkbox next to Employee.
Submit expense records
On the My Expenses dashboard, select the desired expenses to be submitted on the My Expenses dashboard by clicking the checkbox next to each entry.
Once the expenses have been selected, click the Submit button.