Chapter 5: Finally, Some UI To Play With
Now that we’ve created our new model and its corresponding access rights, it is time to interact with the user interface.
At the end of this chapter, we will have created a couple of menus in order to access a default list and form view.
Data Files (XML)
Reference: the documentation related to this topic can be found in Data Files.
In Chapter 4: Security - A Brief Introduction, we added data through a CSV file. The CSV format is convenient when the data to load has a simple format. When the format is more complex (e.g. load the structure of a view or an email template), we use the XML format. For example, this help field contains HTML tags. While it would be possible to load such data through a CSV file, it is more convenient to use an XML file.
The XML files must be added to the same folders as the CSV files and defined similarly in the
__manifest__.py. The content of the data files is also sequentially loaded when a module is installed or
updated, therefore all remarks made for CSV files hold true for XML files.
When the data is linked to views, we add them to the views folder.
In this chapter, we will load our first action and menus through an XML file. Actions and menus are standard records in the database.
Note
When performance is important, the CSV format is preferred over the XML format. This is the case in Odoo where loading a CSV file is faster than loading an XML file.
In Odoo, the user interface (actions, menus and views) is largely defined by creating and composing records defined in an XML file. A common pattern is Menu > Action > View. To access records the user navigates through several menu levels; the deepest level is an action which triggers the opening of a list of the records.
Actions
Reference: the documentation related to this topic can be found in Actions.
Note
Goal: at the end of this section, an action should be loaded in the system. We won’t see anything yet in the UI, but the file should be loaded in the log:
INFO rd-demo odoo.modules.loading: loading estate/views/estate_property_views.xml
Actions can be triggered in three ways:
by clicking on menu items (linked to specific actions)
by clicking on buttons in views (if these are connected to actions)
as contextual actions on object
We will only cover the first case in this chapter. The second case will be covered in a
later chapter while the last is the focus of an
advanced topic. In our Real Estate example, we would like to link a menu to the estate.property
model, so we are able to create a new record. The action can be viewed as the link between the menu
and the model.
A basic action for our test_model is:
<record id="test_model_action" model="ir.actions.act_window">
    <field name="name">Test action</field>
    <field name="res_model">test_model</field>
    <field name="view_mode">tree,form</field>
</record>
idis an external identifier. It can be used to refer to the record (without knowing its in-database identifier).modelhas a fixed value ofir.actions.act_window(Window Actions (ir.actions.act_window)).nameis the name of the action.res_modelis the model which the action applies to.view_modeare the views that will be available; in this case they are the list (tree) and form views. We’ll see later that there can be other view modes.
Examples can be found everywhere in Odoo, but this is a good example of a simple action. Pay attention to the structure of the XML data file since you will need it in the following exercise.
Exercise
Add an action.
Create the estate_property_views.xml file in the appropriate folder and define it in the
__manifest__.py file.
Create an action for the model estate.property.
Restart the server and you should see the file loaded in the log.
Fields, Attributes And View
Note
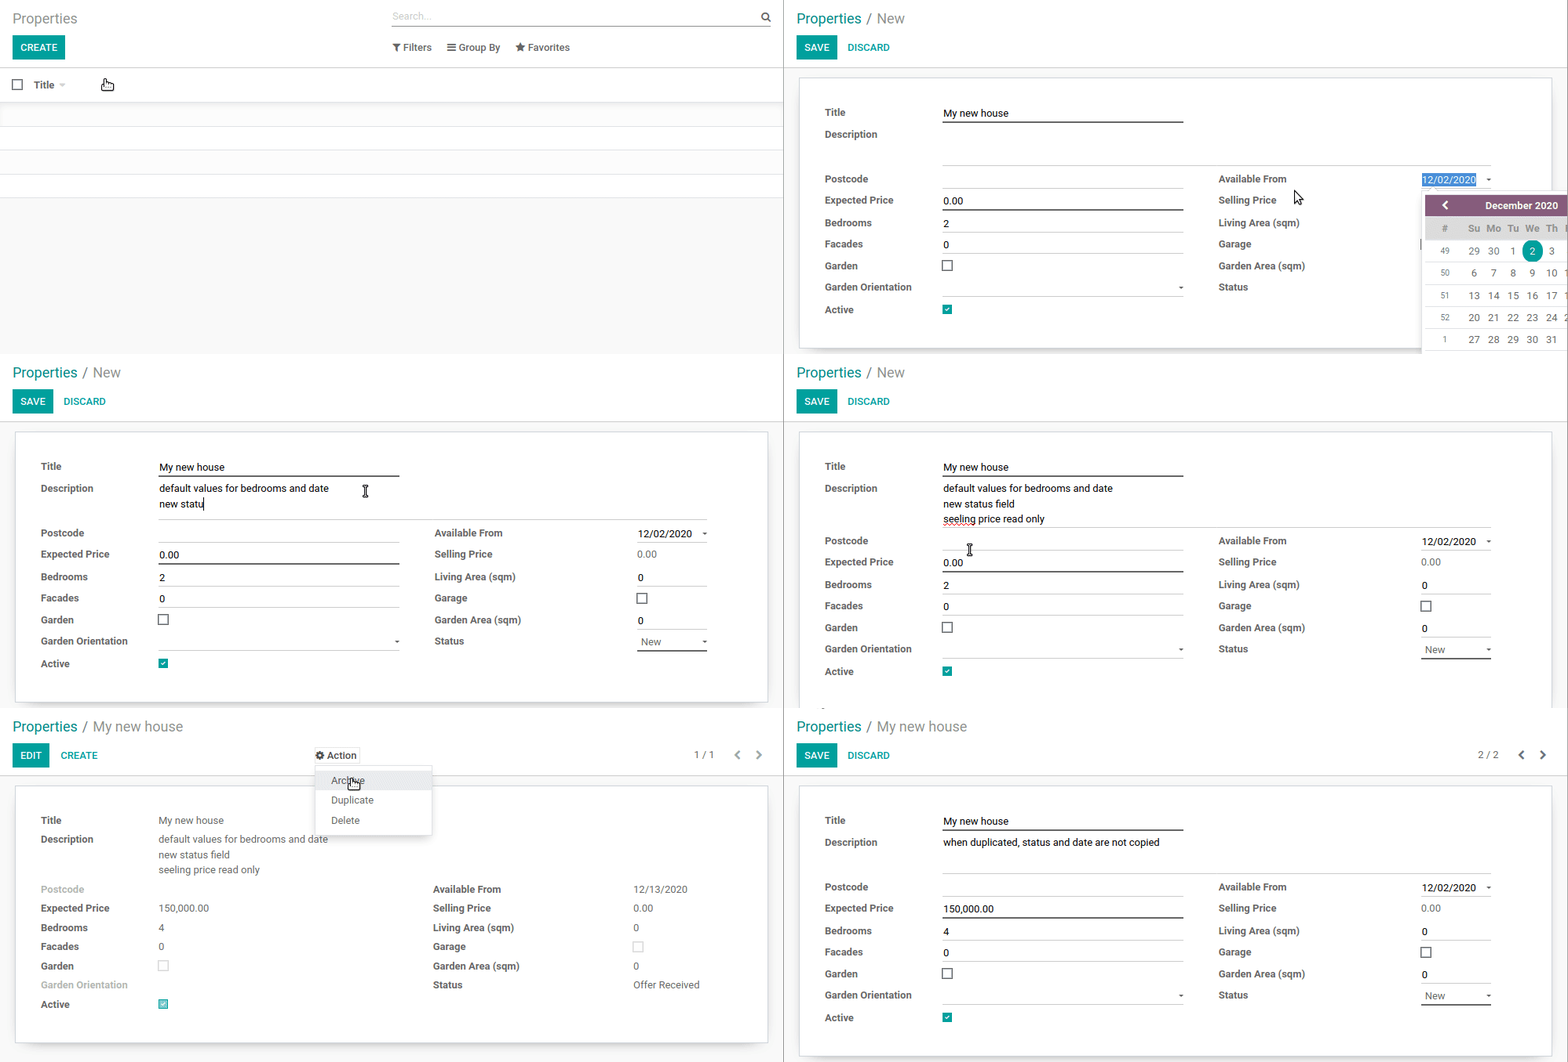
Goal: at the end of this section, the selling price should be read-only and the number of bedrooms and the availability date should have default values. Additionally the selling price and availability date values won’t be copied when the record is duplicated.

The reserved fields active and state are added to the estate.property model.
So far we have only used the generic view for our real estate property advertisements, but in most cases we want to fine tune the view. There are many fine-tunings possible in Odoo, but usually the first step is to make sure that:
some fields have a default value
some fields are read-only
some fields are not copied when duplicating the record
In our real estate business case, we would like the following:
The selling price should be read-only (it will be automatically filled in later)
The availability date and the selling price should not be copied when duplicating a record
The default number of bedrooms should be 2
The default availability date should be in 3 months
Some New Attributes
Before moving further with the view design, let’s step back to our model definition. We saw that some
attributes, such as required=True, impact the table schema in the database. Other attributes
will impact the view or provide default values.
Exercise
Add new attributes to the fields.
Find the appropriate attributes (see Field) to:
set the selling price as read-only
prevent copying of the availability date and the selling price values
Restart the server and refresh the browser. You should not be able to set any selling prices. When duplicating a record, the availability date should be empty.
Default Values
Any field can be given a default value. In the field definition, add the option
default=X where X is either a Python literal value (boolean, integer,
float, string) or a function taking a model and returning a value:
name = fields.Char(default="Unknown")
last_seen = fields.Datetime("Last Seen", default=fields.Datetime.now)
The name field will have the value “Unknown” by default while the last_seen field will be
set as the current time.
Exercise
Set default values.
Add the appropriate default attributes so that:
the default number of bedrooms is 2
the default availability date is in 3 months
Tip: this might help you: today()
Check that the default values are set as expected.
Reserved Fields
Reference: the documentation related to this topic can be found in Reserved Field names.
A few field names are reserved for pre-defined behaviors. They should be defined on a model when the related behavior is desired.
Exercise
Add active field.
Add the active field to the estate.property model.
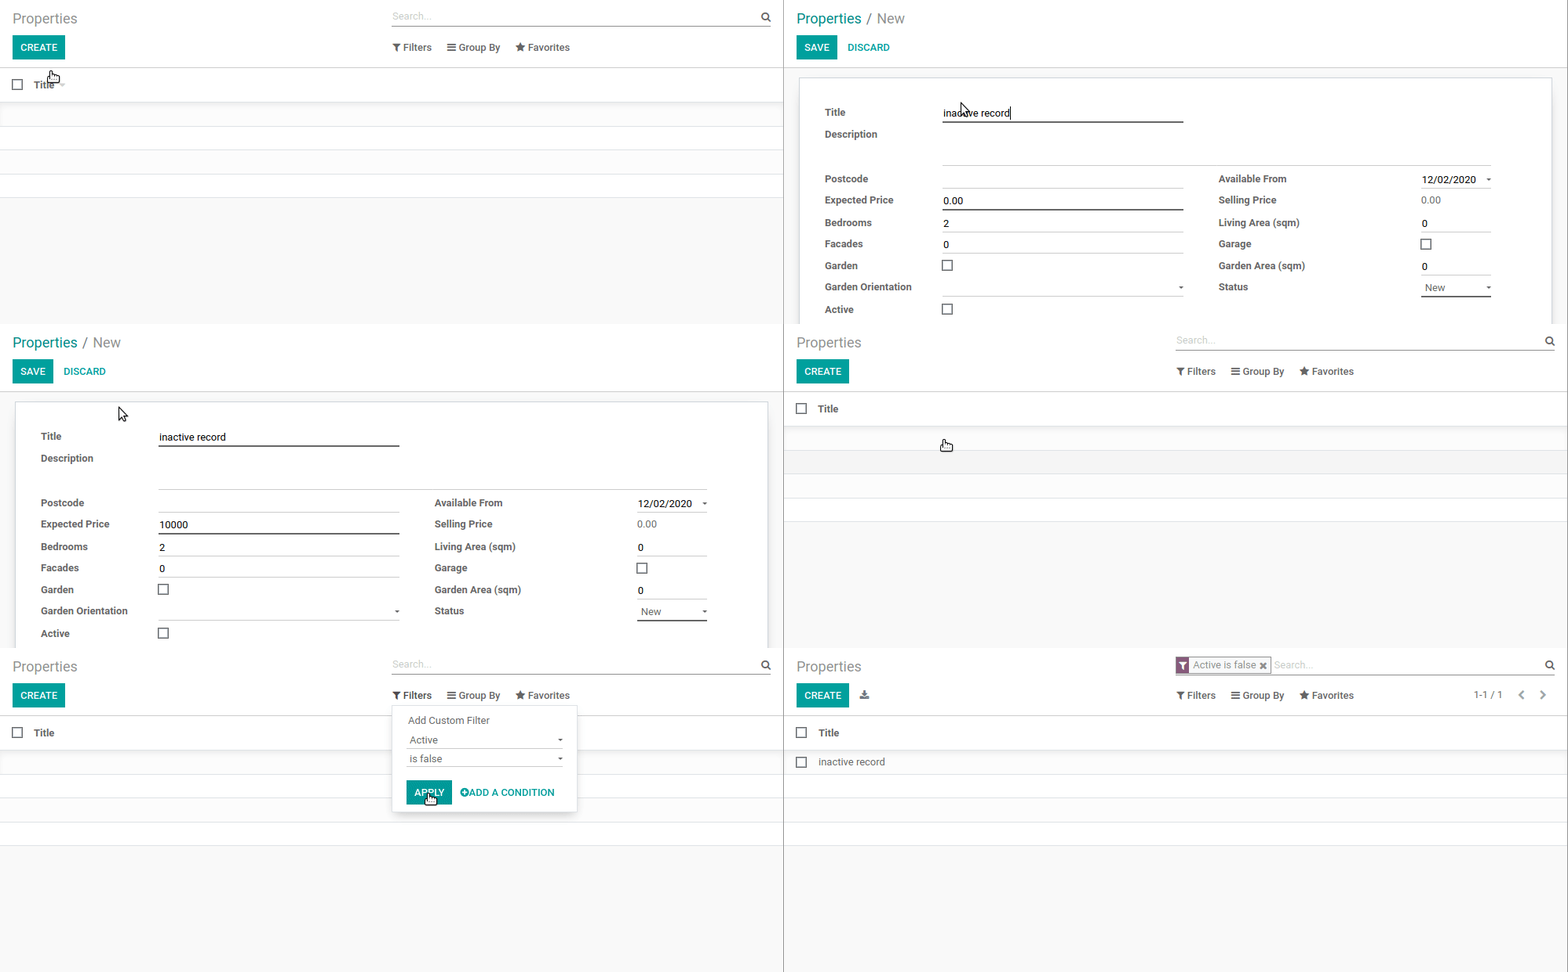
Restart the server, create a new property, then come back to the list view… The property will
not be listed! active is an example of a reserved field with a specific behavior: when
a record has active=False, it is automatically removed from any search. To display the
created property, you will need to specifically search for inactive records.

Exercise
Set a default value for active field.
Set the appropriate default value for the active field so it doesn’t disappear anymore.
Note that the default active=False value was assigned to all existing records.
Exercise
Add state field.
Add a state field to the estate.property model. Five values are possible: New,
Offer Received, Offer Accepted, Sold and Canceled. It must be required, should not be copied
and should have its default value set to “New”.
Make sure to use the correct type!
The state will be used later on for several UI enhancements.
Now that we are able to interact with the UI thanks to the default views, the next step is obvious: we want to define our own views.
- 1
A refresh is needed since the web client keeps a cache of the various menus and views for performance reasons.


