Utenti
Odoo definisce un utente come una persona che ha accesso a un database. Un amministratore può aggiungere tutti gli utenti di cui l’azienda ha bisogno e, per limitare il tipo di informazioni a cui ciascun utente può accedere, può applicare delle regole a ciascun utente. Gli utenti e i diritti di accesso possono essere aggiunti e modificati in qualsiasi momento.
Aggiungere utenti
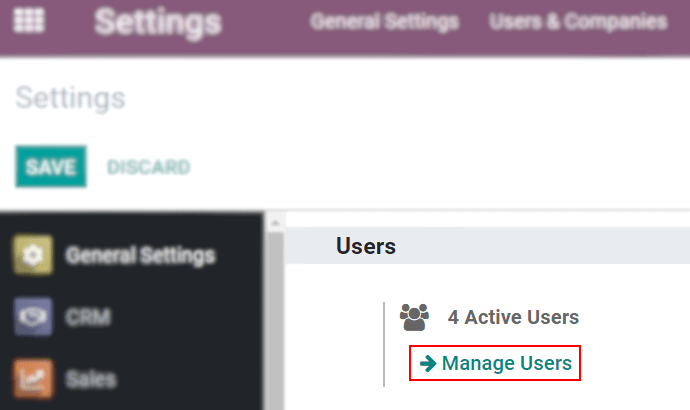
To add new users, navigate to , and click on Create.
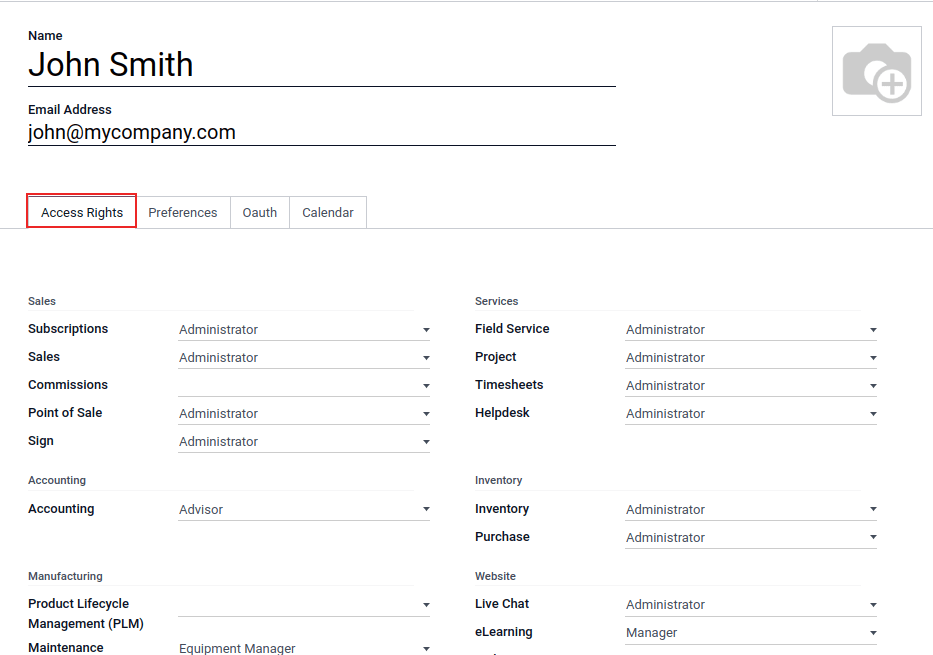
Compila il modulo con tutte le informazioni richieste. Nella sezione Diritti di accesso, scegli il gruppo in ogni applicazione a cui l’utente può avere accesso.
L’elenco di applicazioni mostrate in base alle app installate sul database.
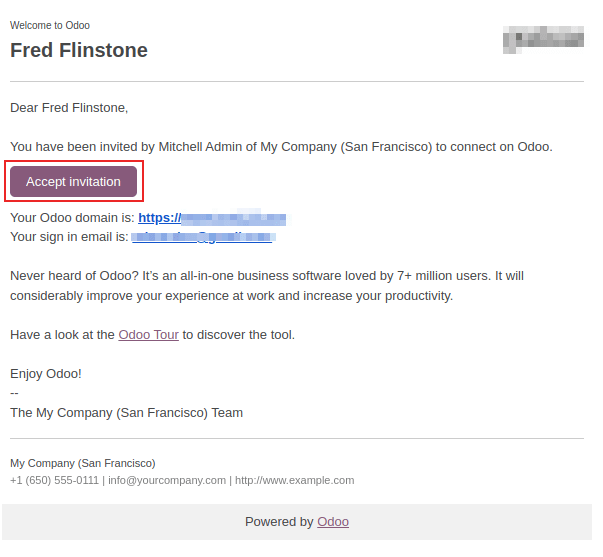
After filling out all the necessary fields on the page, click Save. An invitation email is automatically sent to the user, using the email in the Email Address field. The user must click on the link included in the email to accept the invitation, and to create a database login.
Avvertimento
Se l’azienda ha un piano di abbonamento mensile, il database si aggiorna automaticamente per riflettere gli utenti aggiunti. Se l’azienda ha un piano annuale o pluriennale, nel database appare un banner di scadenza. È possibile creare un preventivo di upselling facendo clic sul banner per aggiornare l’abbonamento. In alternativa, puoi `inviare un ticket di supporto <https://www.odoo.com/help> ` per risolvere il problema.
Tipo di utente
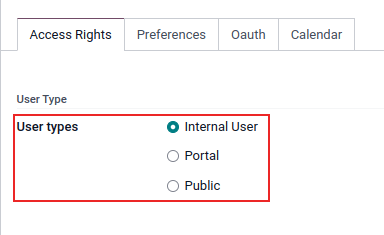
With the developer mode activated, User Type can be selected from the Access Rights tab of the user form, accessible via .
Esistono tre tipi di utente: Utente interno, Portale e Pubblico.
Suggerimento
Gli utenti sono considerati utenti interni del database. Gli utenti del portale sono utenti esterni, che hanno accesso al portale del database solo per visualizzare i record. Consulta la documentazione Accedere al portale.
Gli utenti pubblici sono quelli che visitano i siti web dal frontend.
Le opzioni utente Portale e Pubblico non consentono all’amministratore di scegliere i diritti di accesso. Questi utenti hanno diritti di accesso specifici preimpostati (come regole di registrazione e menu riservati) e di solito non appartengono ai normali gruppi Odoo.
Disattivare utenti
Per disattivare (ovvero archiviare) un utente, apri l’app . In seguito, spunta la casella a sinistra dell’utente per disattivarlo.
Dopo aver selezionato l’utente da archiviare, fai clic sull’icona ⚙️ Azioni e seleziona Archivia dal menu a tendina. Successivamente, fai clic su OK dalla finestra pop-up di Conferma che appare.
Pericolo
Non disattivare mai l’utente principale/amministratore (admin). Le modifiche apportate agli utenti admin possono avere un impatto negativo sul database. Questo include amministratore impotente, il che significa che nessun utente del database può apportare modifiche ai diritti di accesso. Per questo motivo, Odoo consiglia di contattare un Business Analyst o il nostro team di assistenza prima di apportare modifiche.
Errore: troppi utenti
Se in un database Odoo ci sono più utenti di quelli previsti nell’abbonamento a Odoo Enterprise, verrà visualizzato il seguente messaggio.

Quando appare il messaggio, l’amministratore del database ha 30 giorni per agire prima che il database scada. Il conto alla rovescia viene aggiornato ogni giorno.
Per risolvere il problema puoi:
aggiungere più utenti all’abbonamento facendo clic sul link Aggiorna abbonamento visualizzato nel messaggio per la convalida del preventivo di upsell e paga per gli utenti aggiuntivi.
Disattivare gli utenti e rifiutare il preventivo di upsell.
Avvertimento
Se l’azienda ha un piano di abbonamento mensile, il database si aggiorna automaticamente per riflettere gli utenti aggiunti. Se l’azienda ha un piano annuale o pluriennale, nel database appare un banner di scadenza. È possibile creare un preventivo di upselling facendo clic sul banner per aggiornare l’abbonamento. In alternativa, gli utenti possono `inviare un ticket di supporto <https://www.odoo.com/help> ` per risolvere il problema.
Una volta che il database ha il numero corretto di utenti, il messaggio di scadenza scompare automaticamente dopo pochi giorni, al momento della verifica successiva.
Gestione password
La gestione delle password è una parte importante per garantire agli utenti un accesso autonomo al database in qualsiasi momento. Odoo offre alcuni metodi diversi per reimpostare la password di un utente.
Suggerimento
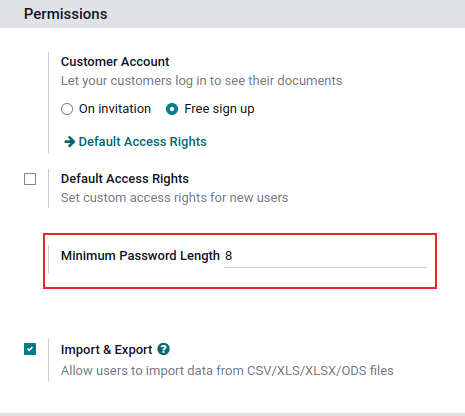
Odoo ha un’impostazione per specificare la lunghezza di una password. È possibile accedere all’impostazione aprendo l’app e inserire la lunghezza desiderata nel campo Lunghezza minima della password. Per impostazione predefinitia, il valore è impostato su 8.
Reset della password
A volte gli utenti possono desiderare di reimpostare la propria password personale per maggiore sicurezza, in modo da essere gli unici ad avere accesso alla password. Odoo offre due opzioni per farlo: una avviata dall’utente per reimpostare la password e un’altra in cui l’amministratore attiva la reimpostazione.
Abilitare la reimpostazione della password dalla pagina di login
È possibile attivare/disattivare la reimpostazione della password direttamente dalla pagina di accesso. L’azione viene eseguita dal singolo utente e l’impostazione è attivata per impostazione predefinita.
Per modificare l’impostazione, apri l’app , attiva Reimposta password e poi fai clic su Salva.

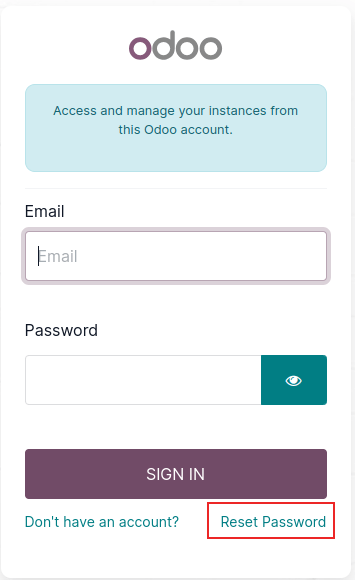
Nella pagina di accesso, fai clic su Reimposta password per avviare il processo di reimpostazione della password e ricevere un token per il reset all’e-mail registrata.
Inviare istruzioni reimpostazione password
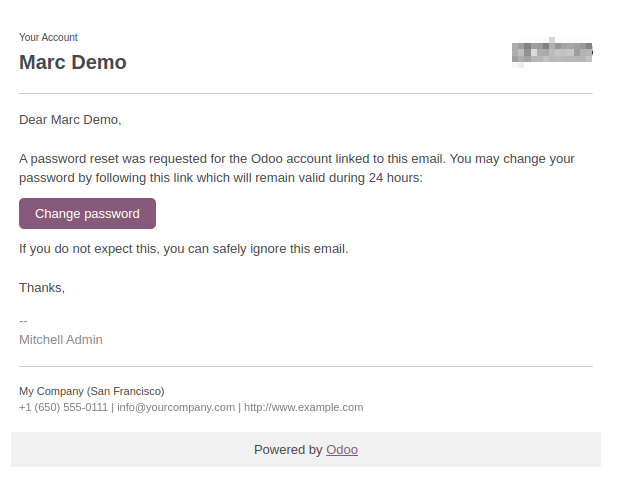
Apri l’app , seleziona l’utente dall’elenco e fai clic su Invia istruzioni ripristino password sul modulo dell’utente. Viene inviata automaticamente un’e-mail con le istruzioni per la reimpostazione della password.
Nota
Il pulsante Invia istruzioni ripristino password appare solamente se l’e-mail di invito di Odoo è stata già confermata dall’utente. Altrimenti, apparirà il pulsante Invia di nuovo l’e-mail di invito.
Questa e-mail contiene tutte le istruzioni necessarie per reimpostare la password, insieme a un link che reindirizza l’utente a una pagina di login di Odoo.
Modificare password utente
Apri l’app e seleziona un utente per accedere al suo profilo. Fai clic sull’icona ⚙️ Azioni e seleziona Modifica password dal menu a tendina. Inserisci una nuova password nella colonna Nuova password della finestra pop-up Modifica password che appare e conferma la modifica facendo clic su Modifica password.

Nota
L’operazione modifica solamente la password degli utenti localmente e non impatta il loro account odoo.com.
Se la password di odoo.com deve essere cambiata, consulta la sezione inviare istruzioni per reimpostare la password. Le password di odoo.com consentono l’accesso alla pagina I miei database e ad altre funzioni del portale.
Dopo aver fatto clic su Modifica password, la pagina viene reindirizzata a una pagina di accesso Odoo dove è possibile eseguire di nuovo l’accesso al database utilizzando la nuova password.
Multi azienda
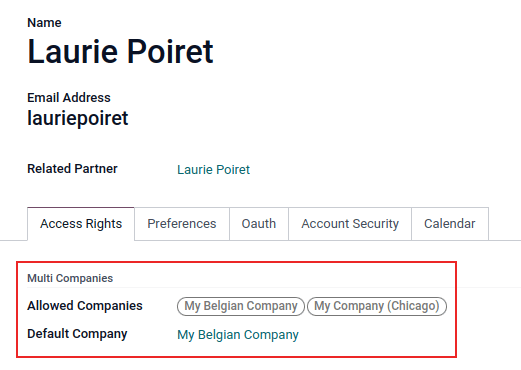
The Multi Companies field on a user form allows an administrator to provide access to multiple companies for existing users. To configure a multi-company environment for a user, navigate to the desired user by going to: . Then, select the user to open their user form, and configure with multi-company access.
Sotto il campo guilabel:Multi azienda nella scheda Diritti di accesso, configura i campi chiamati Aziende consentite e Azienda predefinita.
Il campo Aziende consentite può contenere più aziende. Queste sono le aziende a cui l’utente può accedere e che può modificare, in base ai diritti di accesso impostati. Il campo Azienda predefinita è l’azienda a cui l’utente accede per default, ogni volta che esegue l’accesso. Questo campo può contenere una sola azienda.
Avvertimento
Se l’accesso a più aziende non è configurato correttamente potrebbe causare comportamenti anomali. Per questo motivo, solo gli utenti Odoo con esperienza dovrebbero apportare modifiche ai diritti di accesso di utenti di un database con più aziende. Per spiegazioni più tecniche, consulta la documentazione Multi-company Guidelines.
Vedi anche