Setup
In this chapter, you will learn:
To set up your local development environment.
The outline of the Odoo database structure.
To export and import an Odoo database in your local environment.
To have an Odoo instance up and running.
Install
There are multiple ways to install Odoo, depending on the intended use case. This documentation assumes you use the source install (running Odoo from the source code), which is best suited for Odoo designers and developers.
Databases
Structure
Every Odoo application works similarly; they are built with the same logic. A model contains fields and relational fields that link to other models. Each model has views representing all its fields, with backend and frontend views.
Models
The basis of Odoo is models. Models use fields to record the data. Records are stored in a database: they are therefore linked to a model. In Odoo, you can find the different models in the backend by enabling the developer mode and then going to .
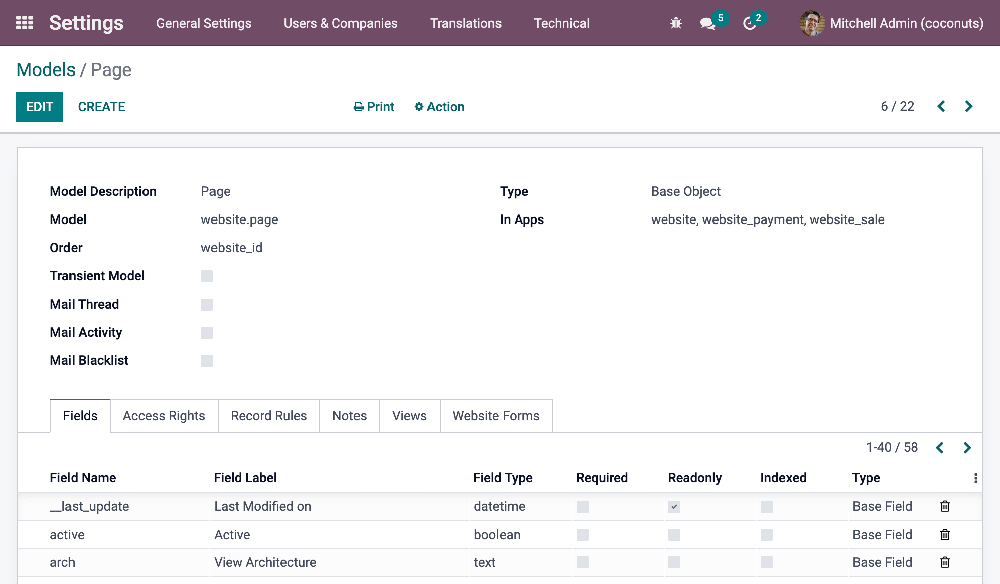
Fields
In a model, we will centralize fields (field names we need to target in our code).
Vedi anche
Classic fields
Date
Char
Selection
…
Relational fields
Relational fields call a field from another model. They allow you to link models together and make them interact easily. In other words, when you use a relational field, you link a record with another one (located on another model), enabling you to retrieve the content of the fields located on this linked record.
Many2one fields are filled in by choosing one record from a list of records on another model (from many records, you select one). For example, the customer field on a quotation makes you choose one customer from a list of several customers on the contact model.
One2many fields are reverse searches of existing many2one relations. For example, you could list on a contact all their existing quotations (from one record, you display many).
Many2many fields are filled in by choosing one or several records from a list of records on another model. For example, you can put several tags on one product, and several products can use the same tags (from many records, you can select many).
Views
Views define how records should be displayed to end-users. They are specified in XML, meaning they can be edited independently from the models they represent. They are flexible and allow deep customization of the screens they control.
Backend vs. Frontend
Backend views: Kanban, List, Form, etc.
Frontend view: QWeb
Static vs. Dynamic
Static pages have stable content, such as the homepage. You can define their URL and set some properties like published, indexed, etc.
Dynamic pages are dynamically generated, such as the product page. Their URL is dynamic and is accessible to all by default (this can be changed by configuring access rights).
Base vs. Inherited vs. Duplicated
Base view: View natively implemented by Odoo. It is directly derived from their model. A base view should never be altered as it allows updating an Odoo database without overwriting a client’s modification.
Modifications always take place in either a duplicated or inherited view with some differences:
Inherited view always has an
inherit_idand applies modifications based on the source code of the base view it inherits from.Duplicated view is a duplication from another one. Most of the time this kind of view is created by Odoo when the end-user applies modifications through the Website Builder. This mechanism prevents data loss when the module is updated because only the source view will be updated, not the duplicated one. If a duplicated view exists, both the original view and the duplicated one are visible in the list but only the duplicated one has an
external_id(anexternal_idset means that the view has been created by the source code of a module).
Import an existing database
Nota
You can directly go to the Theming chapter if you do not need to import an existing database.
Dump
Odoo SaaS
Log in to a user account with sufficient access rights.
Go to
<database_url>/saas_worker/dump.
Odoo.sh
Connect to Odoo.sh.
Select the branch you want to back up.
Choose the BACKUPS tab.
Click the Create Backup button.
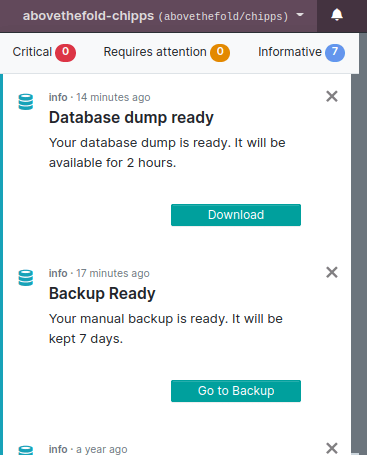
When the process is over, a notification appears. Open it and click the Go to Backup button.
Click the Download icon. Select Testing under Purpose and With filestore under Filestore.
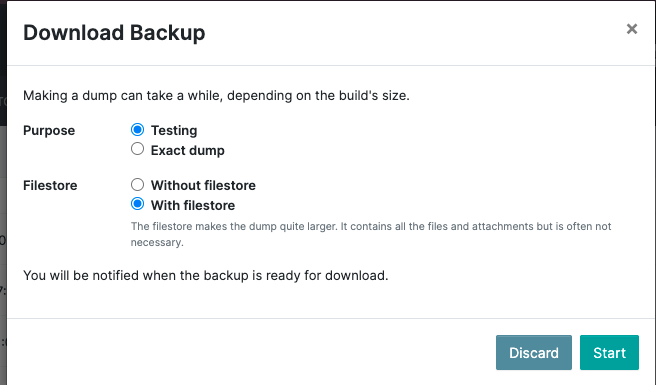
You will receive a notification when the dump is ready to be downloaded. Open it and click on Download to get your dump.
Move filestore
Copy all the folders included in the filestore folder and paste them to the following location on your computer:
macOS:
/Users/<User>/Library/Application Support/Odoo/filestore/<database_name>Linux:
/home/<User>/.local/share/Odoo/filestore/<database_name>
Nota
/Library is a hidden folder.
Database setup
Create an empty database.
createdb <database_name>
Import the SQL file in the database that you just created.
psql <database_name> < dump.sql
Reset the admin user password.
psql \c
<database_name>
update res_users set login='admin', password='admin' where id=2;
If necessary, disable the two-factor authentication enforcing policy option.
psql <database-name>
update res_users set totp_secret='' where id=2;
Getting started
Running Odoo
Once all dependencies are set up, Odoo can be launched by running odoo-bin, the command-line
interface of the server. It is located at the root of the Odoo Community directory.
To configure the server, you can specify command-line arguments or a configuration file. The first method is presented below.
The CLI offers several functionalities related to Odoo. You can use it to run the server, scaffold an Odoo theme, populate a database, or count the number of lines of code.
Shell script
A typical way to run the server would be to add all command line arguments to a .sh script.
Example
./odoo-bin --addons-path=../enterprise,addons --db-filter=<database> -d <database> --without-demo=all -i website --dev=xml
Folder |
Description |
|---|---|
Comma-separated list of directories in which modules are stored. These directories are scanned for modules. |
|
database(s) used when installing or updating modules. |
|
Hides databases that do not match the filter. |
|
Comma-separated list of modules to install before running the server. (requires |
|
Comma-separated list of modules to update before running the server. (requires |
|
Disables demo data loading for modules installed comma-separated; use |
|
Comma-separated list of features. For development purposes only. More info |
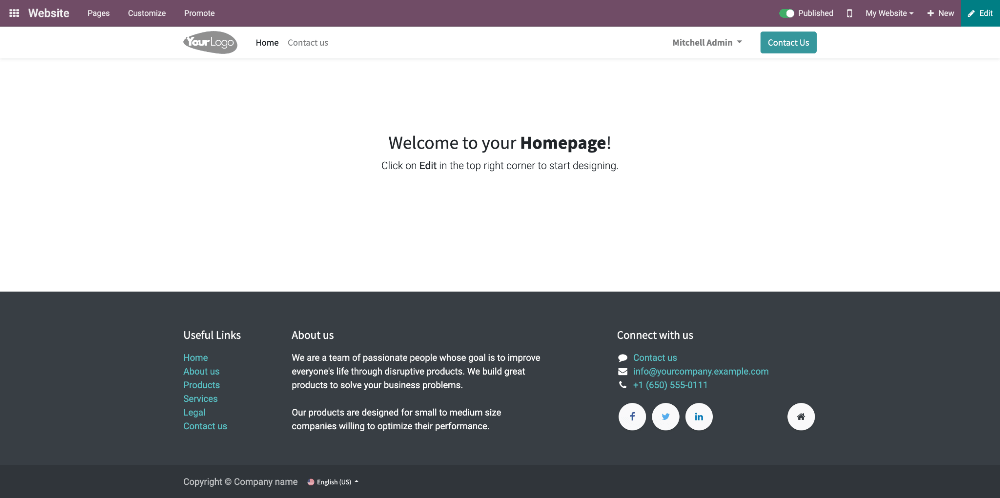
Sign in
After the server has started (the INFO log odoo.modules.loading: Modules loaded. is printed), open
http://localhost:8069 in your web browser and log in with the base administrator account.
Type admin for the email and admin for the password.
Suggerimento
Hit CTRL+C to stop the server. Do it twice if needed.
Developer mode
The developer mode, also known as debug mode, is useful for development as it gives access to additional tools. In the next chapters, it is assumed that you have enabled the developer mode.