Pugin pentru Outlook
Outlook permite aplicațiilor terțe să se conecteze pentru a executa acțiuni de bază de date din e-mailuri. Odoo are un plugin pentru Outlook care permite crearea unei oportunitati din panoul de e-mail.
Configurare
Pluginul Outlook Mail Plugin trebuie configurat atât în Odoo căt și în Outlook.
Activați Mail Plugin
Mai întâi, activați caracteristica Mail Plugin în baza de date. Accesați , activați Pluginul de e-mail și Salvați configurația.
Instalarea pluginului Outlook
Descărcați () următorul fișier XML pentru a încărca mai târziu: https://download.odoocdn.com/plugins/outlook/manifest.xml.
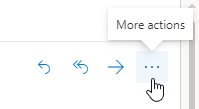
Apoi, deschideți cutia poștală Outlook și selectați orice e-mail. După ce ați finalizat, faceți clic pe butonul Mai multe acțiuni din partea dreaptă sus și selectați Obțineți suplimente.
Sfat
Pentru versiunile Microsoft Outlook instalate local, accesați elementul de meniu Get Add-ins în modul de previzualizare (nu cu un mesaj deschis). Mai întâi, faceți clic pe pictograma … (puncte de suspensie) din partea dreaptă sus a mesajului previzualizat, apoi derulați în jos și faceți clic pe Obțineți suplimente.
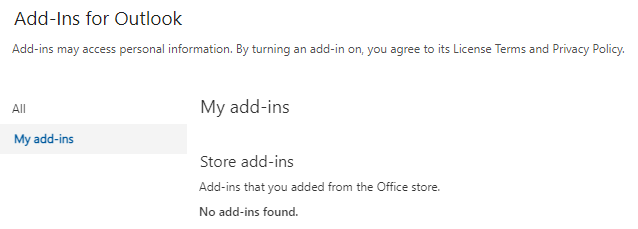
După acest pas, selectați fila Suplimentele mele din partea stângă.
Sub Suplimente personalizate în partea de jos, faceți clic pe + Adăugați un add-in personalizat, apoi pe Adăugați din fișier…
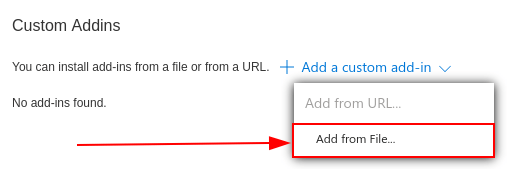
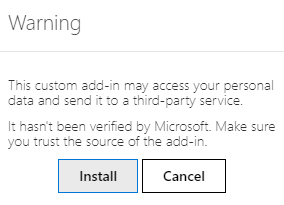
Pentru pasul următor, atașați fișierul manifest.xml descărcat mai sus și apăsați OK. Apoi, citiți avertismentul și faceți clic pe Instalare.
Conectați baza de date
Acum, Outlook va fi conectat la baza de date Odoo. Mai întâi, deschideți orice e-mail din căsuța poștală Outlook, faceți clic pe butonul Mai multe acțiuni din partea dreaptă sus și selectați Odoo pentru Outlook.
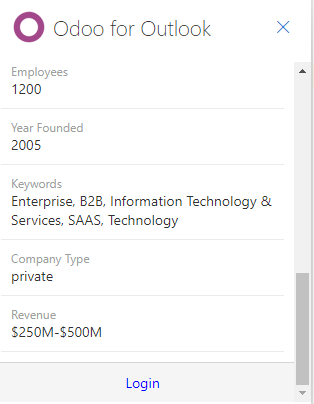
Panoul din dreapta poate afișa acum Company Insights. În partea de jos, faceți clic pe Login.
Notă
Doar un număr limitat de solicitări Company Insights (Lead Enrichment) sunt disponibile ca bază de date de probă. Această funcție necesită credite preplătite.
Sfat
Dacă, după un timp scurt, panoul este încă gol, este posibil ca setările cookie-urilor din browser să fi împiedicat încărcarea acestuia. Rețineți că aceste setări se modifică și dacă browserul este în modul „Incognito”.
Pentru a remedia această problemă, configurați browserul să permită întotdeauna cookie-uri pe pagina de pluginuri Odoo.
Pentru Google Chrome, modificați setările cookie-urilor din browser urmând ghidul de la: https://support.google.com/chrome/answer/95647 și adăugarea download.odoo.com la lista de Site-uri care pot folosi întotdeauna cookie-uri.
Odată ce aceasta este finalizată, panoul Outlook trebuie să fie deschis din nou.
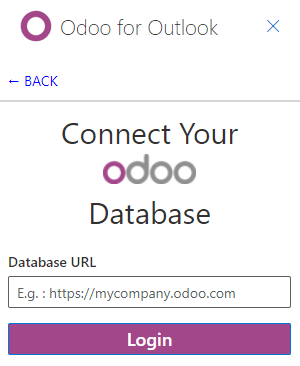
Acum, introduceți adresa URL a bazei de date Odoo și faceți clic pe Login.
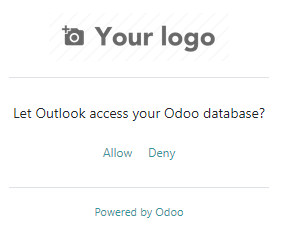
Apoi, faceți clic pe Permite pentru a deschide fereastra pop-up.
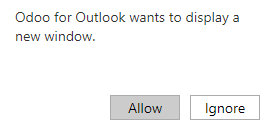
Dacă utilizatorul nu este autentificat în baza de date, introduceți acreditările. Faceți clic pe Permite pentru a permite pluginului Outlook să se conecteze la baza de date.
Adăugarea unei scurtături la plugin
În mod implicit, pluginul Outlook poate fi deschis din meniul More actions. Cu toate acestea, pentru a economisi timp, este posibil să-l adăugați lângă alte acțiuni implicite.
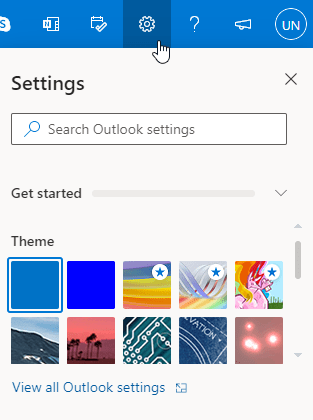
În căsuța poștală Outlook, faceți clic pe Setări, apoi pe Vedeți toate setările Outlook.
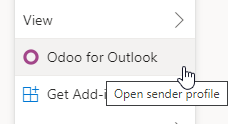
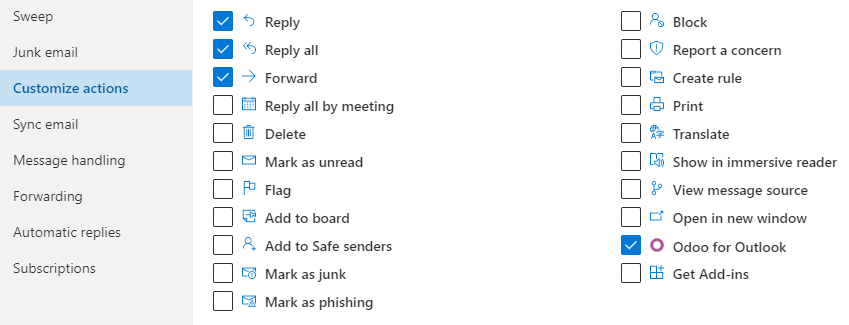
Acum, selectați Personalizați acțiunile sub Mail, faceți clic pe Odoo for Outlook, apoi Salvați.
Urmând acest pas, deschideți orice e-mail; ar trebui să fie afișată comanda rapidă.
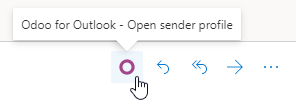
Folosind pluginul
Acum că plug-in-ul este instalat și este operațional, tot ce trebuie făcut pentru a crea un client potențial este să faceți clic pe O [pictograma Odoo] sau să navigați la Mai multe acțiuni și să faceți clic pe :guilabel:` Odoo pentru Outlook`. Panoul lateral va apărea în partea dreaptă, iar sub Oportunități faceți clic pe Nou. Se va popula o nouă fereastră cu oportunitatea creată în baza de date Odoo.