eLearning
Aplicația eLearning vă permite să încărcați cu ușurință conținut, să definiți obiectivele de învățare, să gestionați participanții, să evaluați progresul studenților și chiar să configurați recompense. Implicarea participanților într-o experiență de învățare semnificativă le sporește atenția și favorizează o productivitate sporită.
Important
Vă puteți gestiona conținutul eLearning pe front end sau back end. Fend-end vă permite să creați rapid conținut de pe site-ul dvs., în timp ce back end oferă opțiuni suplimentare și permite colaborarea. Această documentație se concentrează pe utilizarea back-end-ului pentru a vă crea conținut.
Vedeți și
Cursuri
Accesând , puteți obține o prezentare generală a tuturor cursurilor dvs.
Faceți clic pe titlul unui curs pentru a vă edita cursul în spate. Faceți clic pe Vizualizați cursul pentru a vă accesa cursul pe front-end.
Crearea cursului
Faceți clic pe Nou pentru a crea un curs nou. Când apare pagina, puteți adăuga Titlul cursului și una sau mai multe Etichete pentru a vă descrie cursul. Puteți adăuga o imagine pentru a vă ilustra cursul trecând mouse-ul pe imaginea substituentă a camerei și făcând clic pe pictograma de editare. Patru file vă permit să editați cursul în continuare: Conținut, Descriere, Opțiuni și :ref: Karma <elearning/karma>.
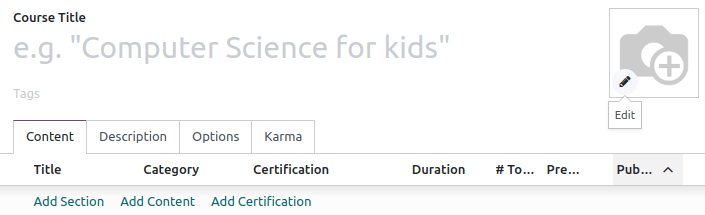
Fila Conținut
Această filă vă permite să gestionați conținutul cursului. Faceți clic pe Adăugați secțiune pentru a vă împărți cursul în diferite secțiuni. Faceți clic pe Adăugați conținut pentru a crea conținut. Faceți clic pe Adăugați certificare pentru a evalua nivelul de înțelegere al participanților dvs., pentru a le certifica abilitățile și pentru a-i motiva. Certificarea face parte din aplicația Sondaje.
Fila descriere
Puteți adăuga o scurtă descriere sau informații legate de cursul dvs. în fila Descriere. Apare sub titlul cursului pe site-ul dvs. web.

Fila opțiuni
În fila Opțiuni, sunt disponibile diferite configurații: Curs, Communication, Drepturi de acces și Afișează.
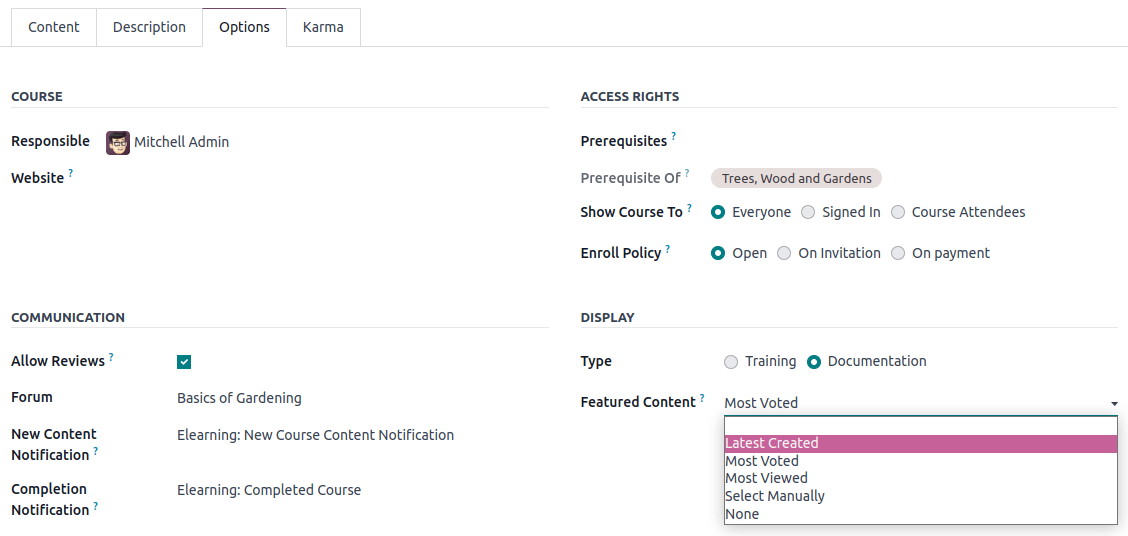
Curs
Atribuiți un utilizator responsabil pentru cursul dvs. Dacă aveți mai multe site-uri web, utilizați câmpul Site web pentru a afișa cursul numai pe site-ul web selectat.
Comunicare
Permite recenzii: bifați caseta pentru a permite participanților să aprecieze și să comenteze conținutul dvs. și să trimită recenzii despre cursul dvs.;
Forum: adaugă un forum dedicat cursului tău (afișat doar dacă funcția Forum este activată în setările aplicației);
Notificare de conținut nou: selectați un șablon de e-mail trimis participanților dvs. atunci când încărcați conținut nou. Faceți clic pe butonul de link intern (➜) pentru a avea acces la editorul de șabloane de e-mail;
Notificare de finalizare: selectați un șablon de e-mail trimis participanților dvs. după ce ajung la sfârșitul cursului. Faceți clic pe butonul de link intern (➜) pentru a accesa editorul de șabloane de e-mail;
Drepturi de acces
Afișați cursul către: definiți cine vă poate accesa cursul și conținutul acestora între Toți, Conectat sau Participanții la curs;
Politica de înscriere: definiți modul în care oamenii se înscriu la cursul dvs. Selectați:
Open: dacă vrei ca cursul tău să fie disponibil oricui;
La invitație: dacă doar persoanele care au primit o invitație se pot înscrie la cursul tău. Dacă este selectat, completați Mesajul de înscriere care explică procesul de înscriere la curs. Acest mesaj apare pe site-ul dvs. sub titlul cursului;
La plată: dacă doar persoanele care ți-au cumpărat cursul pot participa la el. Funcția Cursuri plătite trebuie să fie activată pentru a obține această opțiune. Dacă selectați La plată, trebuie să adăugați un Produs pentru cursul dvs.
Notă
Sunt afișate numai produsele configurate cu Curs ca Tipul de produs.
Afișare
Training: conținutul cursului apare ca un program de instruire, iar cursurile trebuie urmate în ordinea propusă.
Documentație: conținutul este disponibil în orice ordine. Dacă alegeți această opțiune, puteți alege ce pagină ar trebui promovată pe pagina de pornire a cursului utilizând câmpul Conținut recomandat.
Fila Karma
Această filă este despre gamification pentru a face eLearning distractiv și interactiv.
În secțiunea Recompense, alegeți câte puncte karma doriți să acordați studenților dvs. atunci când aceștia Revizuire sau Termină un curs.
În secțiunea Drepturi de acces, definiți karma necesară pentru Adăugați o recenzie, Adăugați comentariu sau Votați pe curs.
Notă
Din cursul dvs., faceți clic pe butonul Contactați participanții pentru a ajunge la persoanele care sunt înscrise la curs.
Grupuri de curs
Utilizați Grupurile de cursuri pentru a informa utilizatorii și a le permite să filtreze cursurile din tabloul de bord Toate cursurile.
Le puteți gestiona accesând . Faceți clic pe Nou pentru a crea un nou grup de cursuri. Adăugați Nume grup de curs, bifați caseta Intrare în meniu pentru a permite utilizatorilor să caute după grup de curs pe site și adăugați etichete în coloana Nume etichetă. Pentru fiecare etichetă, puteți selecta o culoare corespunzătoare.
Setări
Puteți activa diferite funcții pentru a vă personaliza cursurile accesând :
Certificări: pentru a evalua cunoștințele participanților tăi și a certifica abilitățile acestora;
Cursuri plătite: pentru a vinde accesul la cursurile dvs. pe site-ul dvs. web și pentru a urmări veniturile;
Mailing: pentru a vă actualiza toți participanții simultan prin corespondență în masă;
Forum: pentru a crea o comunitate și a permite participanților să răspundă reciproc la întrebări.
Conținut
Gestionați-vă conținutul accesând . Faceți clic pe Nou pentru a crea conținut. Adăugați Titlul conținutului și, dacă doriți Etichete, apoi completați informațiile aferente dintre diferitele file.
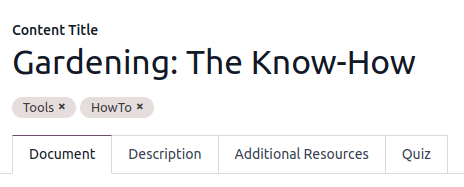
Fila Document
Curs: selectează cursul căruia îi aparține conținutul tău;
Tipul de conținut: selectați tipul de conținut;
Responsabil: adaugă o persoană responsabilă pentru conținutul tău;
Durata: indicați timpul necesar finalizării cursului;
Permite descărcare: permite utilizatorilor să descarce conținutul diapozitivului. Această opțiune este vizibilă numai atunci când conținutul este un document;
Permite previzualizarea: cursul este accesibil de oricine.
# of Public Views: afișează numărul de vizualizări de la participanții neînscriși;
# Total Views: afișează numărul total de vizualizări (participanți neînscriși și înscriși).
Fila descriere
Puteți adăuga o descriere a conținutului dvs. care apare frontal în secțiunea Despre a conținutului cursului.
Fila Resurse suplimentare
Faceți clic pe Adăugați o linie pentru a adăuga un link sau un fișier care sprijină învățarea participanților dvs. Apare în conținutul cursului de pe site-ul dvs. web.
Fila Test
Din această filă puteți crea un test pentru a vă evalua studenții la sfârșitul cursului.
The Points Rewards section lets you give a specific number of karma points depending on how many tries they need to correctly answer the question. Then, create your questions and the possible answers by clicking on Add a line. A new window pops up, add the question by filling in the Question Name and add multiple answers by clicking on Add a line. Tick one of the Is correct answer checkboxes to mark one answer as correct. You can also fill in the Comment field to display additional information when the answer is chosen by the participant.
Publicați-vă conținutul
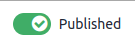
Tot ceea ce este creat pe back-end trebuie publicat din front-end. Conținutul nepublicat este întotdeauna vizibil de pe site-ul dvs. web, dar încă trebuie publicat pentru a fi disponibil publicului dvs.
Trebuie să fii pe front-end-ul site-ului tău web pentru a-ți publica conținutul. Pentru a face acest lucru, faceți clic pe butonul inteligent Go To Website și bifați opțiunea Publish disponibilă în colțul din dreapta.