Batch picking
Batch picking enables a single picker to handle multiple orders at once, reducing the time needed to navigate to the same location in a warehouse.
When picking in batches, orders are grouped and consolidated into a picking list. After the picking, the batch is taken to an output location, where the products are sorted into their respective delivery packages.
See also
Since orders must be sorted at the output location after being picked, this picking method suits businesses with a few products that are ordered often. Storing high-demand items in easily accessible locations can increase the number of orders that are fulfilled efficiently.
Configuration
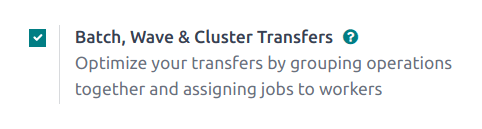
To activate the batch picking option, begin by going to . Under the Operations section, check the Batch Transfers box.
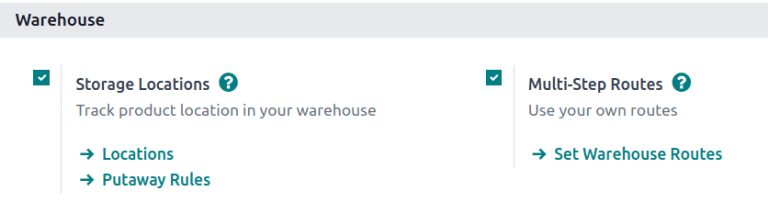
Since batch picking is a method to optimize the pick operation in Odoo, the Storage Locations and Multi-Step Routes options under the Warehouse heading must also be checked on this settings page. When finished, click Save.
Lastly, enable the warehouse picking feature, by navigating to the warehouse settings page, which is accessible from .
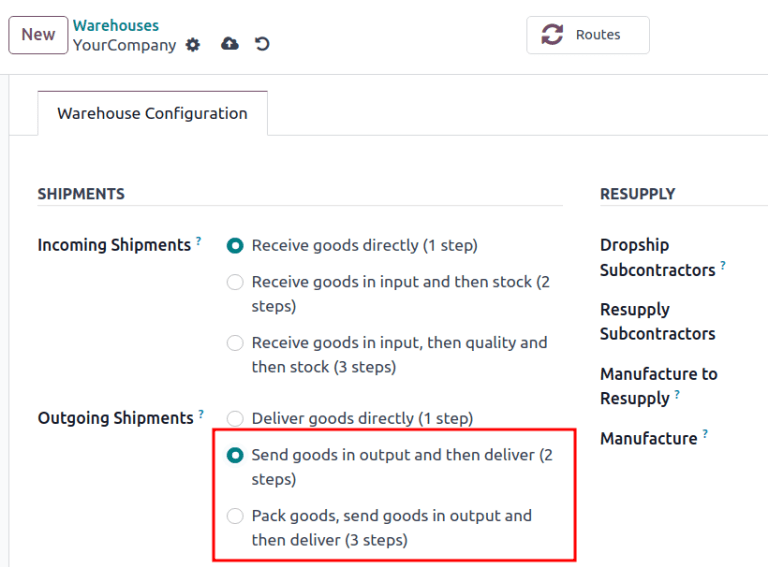
From here, select the desired warehouse from the list. Then, from the radio options available for Outgoing Shipments, select either the Send goods in output and then deliver (2 steps) or Pack goods, send goods in output and then deliver (3 steps).
Create batch transfers
Manually create batch transfers directly from the page. Click the New button to begin creating a batch transfer.
On the batch transfer form, fill the following fields out accordingly:
Responsible: employee assigned to the picking. Leave this field blank if any worker can fulfill this picking.
Operation Type: from the drop-down menu, select the operation type under which the picking is categorized.
Scheduled Date: specifies the date by which the Responsible person should complete the transfer to the output location.
Next, in the Transfers list, click Add a line to open the Add: Transfers window.
If the Operation Type field was filled, the list will filter transfer records matching the selected Operation Type.
Click the New button to create a new transfer.
Once the transfer records are selected, click Confirm to confirm the batch picking.
Example
A new batch transfer assigned to the Responsible, Joel Willis, for the Pick
Operation Type. The Scheduled Date is set to August 11.

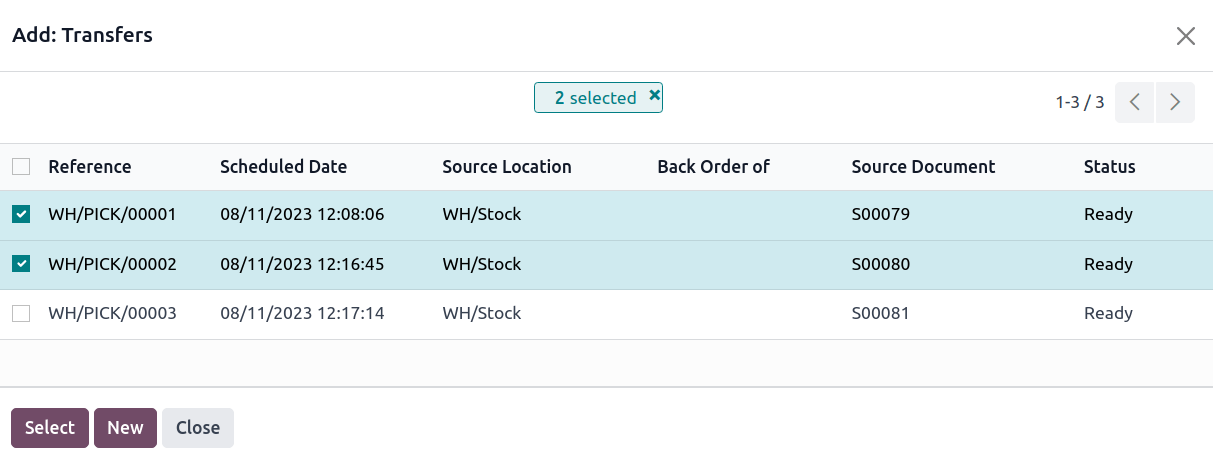
Clicking the Add a line button opens the Add:Transfers window,
displaying only pickings. This is because the Operation Type was set to Pick on the
batch transfer form.
Click the checkbox to the left of the transfers, WH/PICK/00001 and WH/PICK/00002, to include
them in the new transfer. Then, click the Select button to close the
Add:Transfers window.
Add batch from transfers list
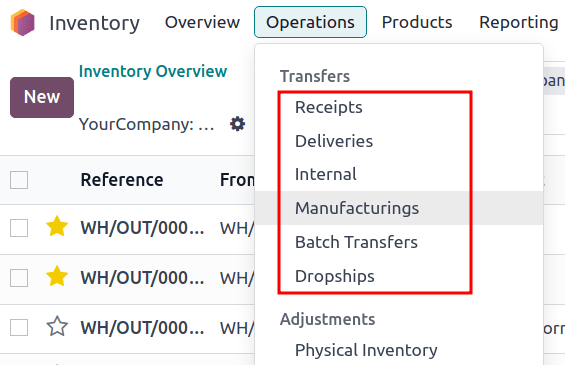
Another method of creating batch transfers is available using the Add to batch option in a list. Navigate to the drop-down menu, and select any of the Transfers to open a filtered list of transfers.
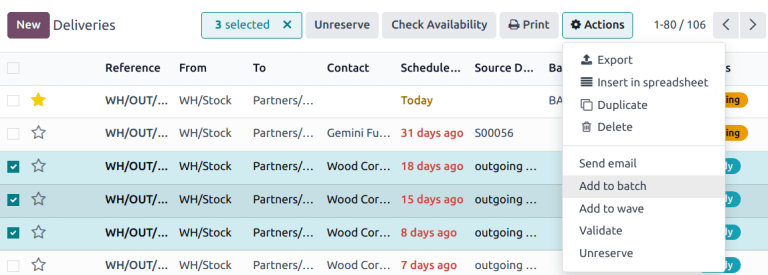
On the transfers list, select the checkbox to the left of the selected transfers to add in a batch. Next, navigate to the Actions ⚙️ (gear) button, and click Add to batch from the resulting drop-down menu.
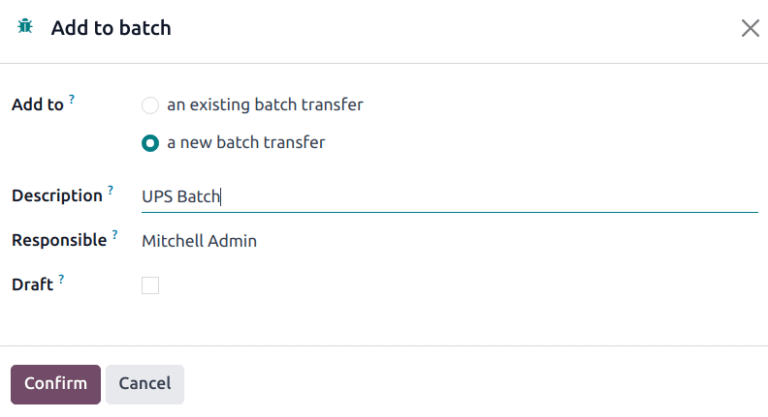
Doing so opens an Add to batch pop-up window, wherein the employee Responsible for the picking can be assigned.
Choose from the two radio options to add to an existing batch transfer or create a new batch transfer.
To begin with a draft, select the Draft checkbox.
Conclude the process by clicking Confirm.
Process batch transfer
Handle batch transfers in the page.
From here, select the intended transfer from the list. Then, on the batch transfer form, input the Done quantities for each product, under the Detailed Operations tab. Finally, select Validate to complete the picking.
Tip
Be certain the batch transfer is complete when the Validate button is highlighted in purple. If the Check Availability button is highlighted instead, that means there are items in the batch that are currently not available in-stock.
Example
In a batch transfer involving products from pickings, WH/PICK/00001 and WH/PICK/00002, the
Detailed Operations tab shows that the product, Cabinet with Doors, has been picked
because the Done column matches the value in the Reserved column.
However, 0.00 quantities have been picked for the other product, Cable Management Box.
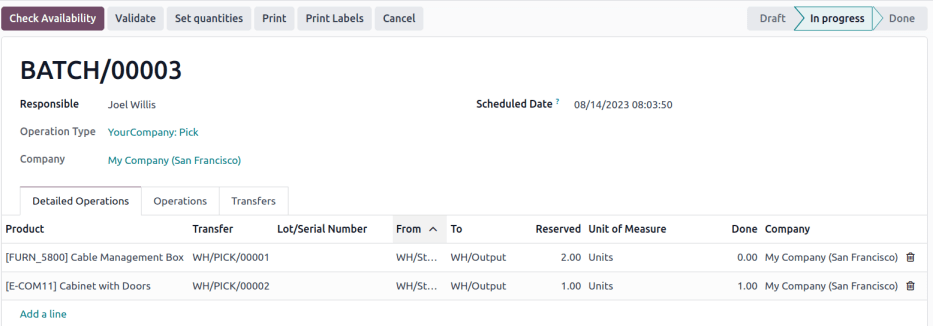
Only in-stock products are visible in the Detailed Operations tab.
To view the complete product list, switch to the Operations tab. On this list, the Demand column indicates the required quantity for the order. The Reserved column shows the available stock to fulfill the order. Lastly, the Done column specifies the products that have been picked, and are ready for the next step.
Example
The product, Desk Pad, from the same batch as the example above, is only visible in the Operations
tab because there are no Reserved quantities in-stock to fulfill the batch picking.
Click the Check Availability button to search the stock again for available products.
Create backorder
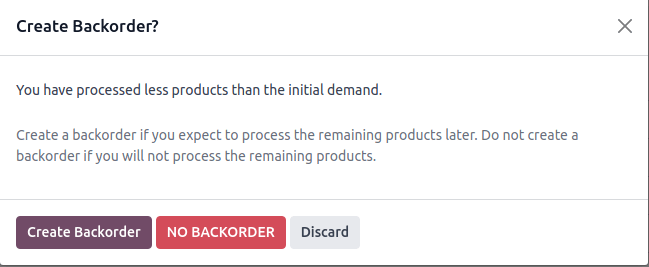
On the batch transfer form, if the Done quantity of the product is less than the Reserved quantity, a pop-up window appears.
This pop-up window provides the option: Create Backorder?.
Clicking the Create Backorder button automatically creates a new batch transfer, containing the remaining products.
Click No Backorder to finish the picking without creating another batch picking.
Click Discard to cancel the validation, and return to the batch transfer form.
Process batch transfer: Barcode app
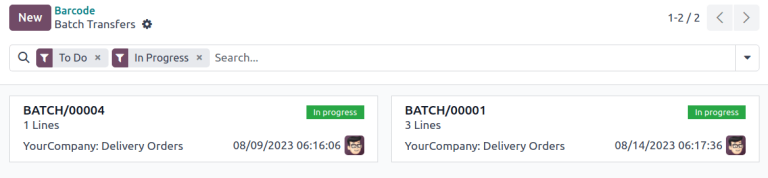
Created batch transfers are also listed in the app, accessible by selecting the Batch Transfers button.
By default, confirmed batch pickings appear on the Batch Transfers page. On that page, click on the desired batch transfer to open the detailed list of products for the picking.
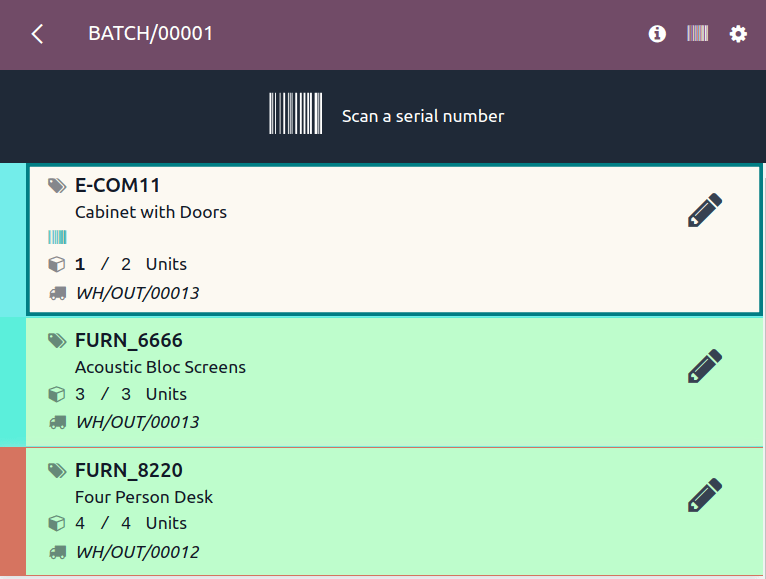
For the chosen batch transfer, follow the instructions at the top of the page in the black background. Begin by scanning the product’s barcode to record a single product for picking. To record multiple quantities, click the ✏️ (pencil) icon, and enter the required quantities for the picking.
Note
Products from the same order are labeled with the same color on the left. Completed pickings are highlighted in green.
Example
In a batch transfer for 2 Cabinet with Doors, 3 Acoustic Bloc Screens, and 4 Four Person
Desks, the 3/3 and 4/4 Units indicate that the last two product pickings are
complete.
1/2 units of the Cabinet with Doors has already been picked, and after scanning the product
barcode for the second cabinet, Odoo prompts the user to Scan a serial number to record the
unique serial number for product tracking.
Once all the products have been picked, click on Validate to mark the batch transfer as Done.