Receipts and invoices
Recepții
Set up receipts by going to , selecting a POS, and scrolling down to the Bills & Receipts section.
To customize the header and footer, activate Header & Footer and fill in both fields with the information to be printed on the receipts.
To print receipts automatically once the payment is registered, enable the Automatic Receipt Printing setting.
Vedeți și
Reimprimare chitanță
From the POS interface, click Orders, open the dropdown selection menu next to the search bar, and change the default All active orders filter to Paid. Then, select the corresponding order and click Print Receipt.
Notă
You can filter the list of orders using the search bar. Type in your reference and click Receipt Number, Date, or Customer.
Facturi
Some of your customers might request an invoice when buying from your Point of Sale, you can easily manage it directly from the PoS interface.
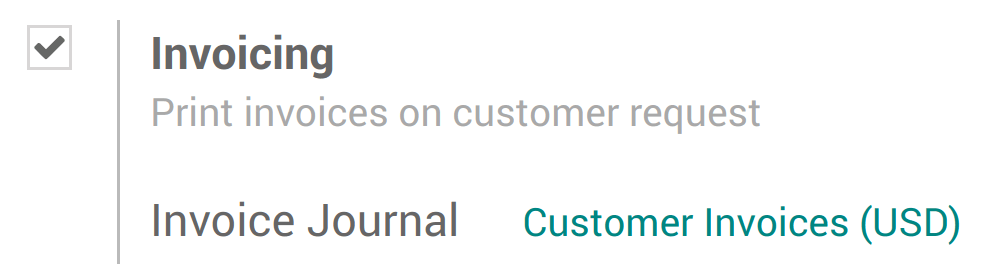
Activate invoicing
Go to and select your Point of Sale:
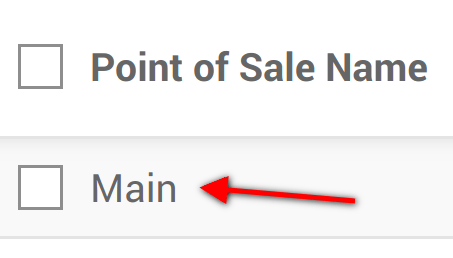
Under the Bills & Receipts you will see the invoicing option, tick it. Don’t forget to choose in which journal the invoices should be created.
Select a customer
From your session interface, use the customer button
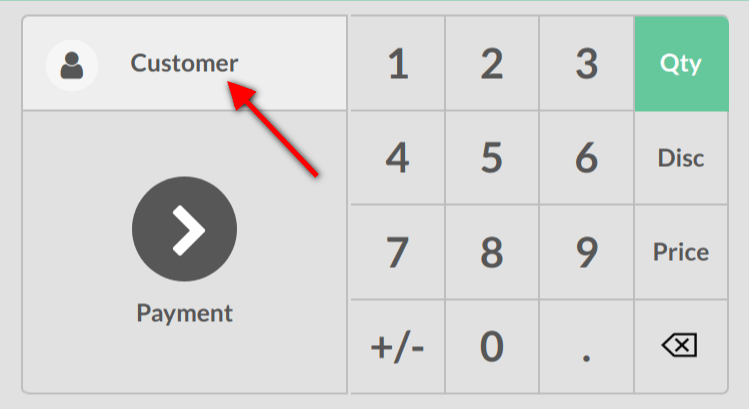
You can then either select an existing customer and set it as your customer or create a new one by using this button.

You will be invited to fill out the customer form with its information.
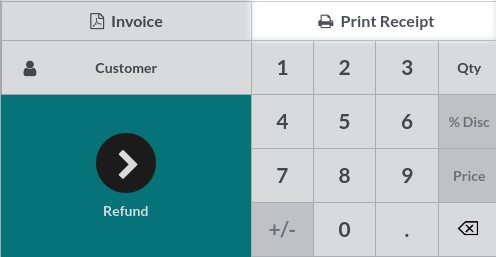
Invoice your customer
From the payment screen, you now have an invoice option, use the button to select it and validate.
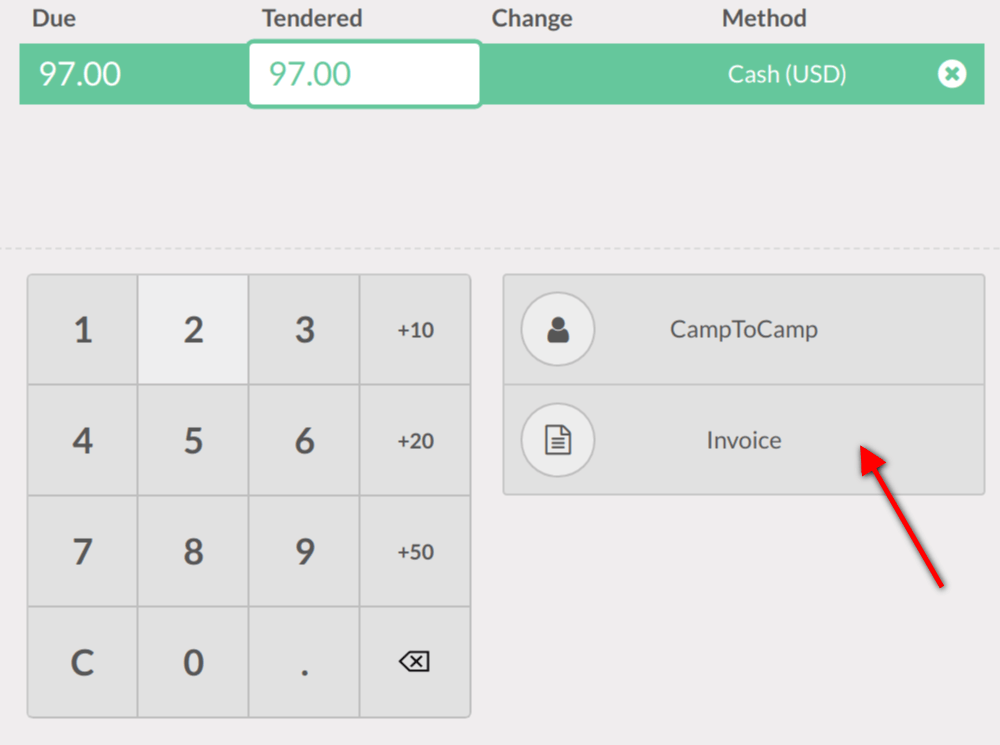
You can then print the invoice and move on to your next order.
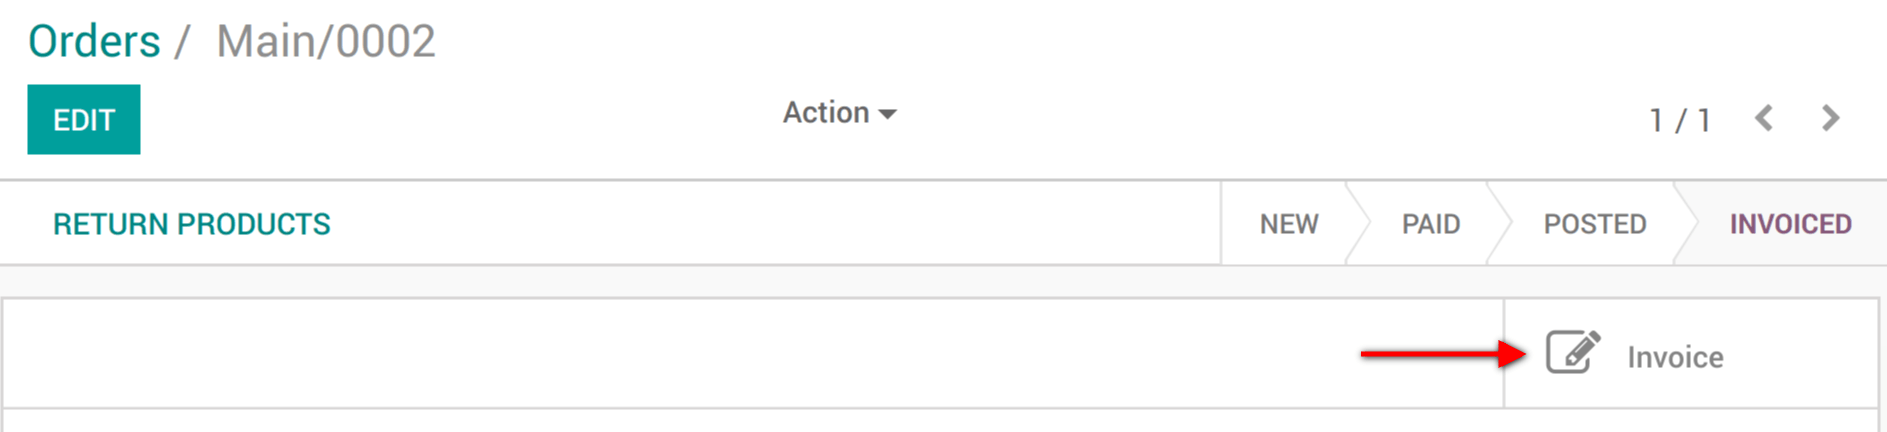
Recuperare facturi
Once out of the PoS interface ( on the top right corner) you will find all your orders in and under the status tab you will see which ones have been invoiced. When clicking on a order you can then access the invoice.