Manage Unsubscriptions and Blacklist
It is best practice, and legally required, to allow recipients to unsubscribe from mailing lists as you do not want your audience to think that your company is using any tactics that are dishonest or spammy.
Enable the Blacklist feature
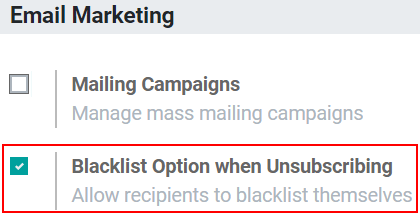
Go to and enable the option Blacklist Option when Unsubscribing.

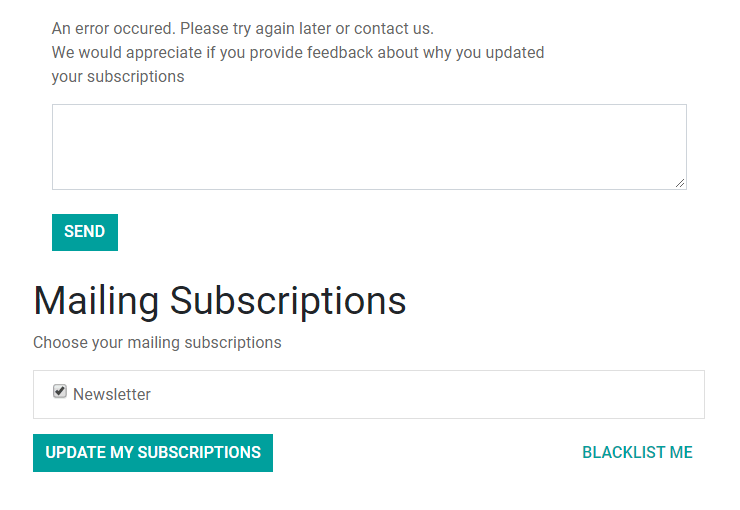
Now, once the user clicks on the Unsubscribe link on your email, he is redirected to the following page:

Notitie
After clicking on the unsubscribe button when using the test feature, you are sent to an error page (error 403 - Access Denied). If you want to be sure the link is working properly, create your mass mail and send it only to a personal email.
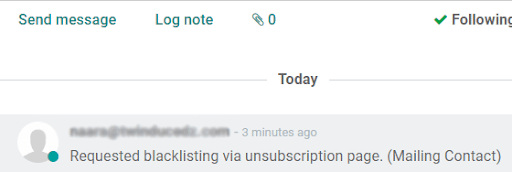
In addition to having the option of unsubscribing from specific mailing lists, the user can also blacklist himself, meaning that he will not receive any more emails from you.
Notitie
The mailing list has to be configured as Public in order to be visible for users.
