Create your First Event

Some of the reasons why hosting events is essential are:

  • To create an engaging experience with your audience;

  • To generate word of mouth about your company;

  • To allow networking;

  • To provide an opportunity for sales representatives to walk their prospects through the product and even their pipeline.

Get started

Under the menu Events, have a view of all existing events and some key information, such as the number of expected and confirmed attendees.

Overview of events with the kanban view in Odoo Events

To start a new one, click on Create and fill in the form with all the needed information. Enable Website Menu to have the menus Introduction, Location, and Register being shown on your event’s website page.

View of an event's form emphasizing the option website menu in Odoo Events

To personalize these pages, click on Edit to open the website builder, and edit content by dragging and dropping blocks.

View of an event's website page emphasizing the edit button for Odoo Events

Tab: Tickets

Go to Events ‣ Configuration ‣ Settings and enable Tickets and Online Ticketing.
Now, under the Tickets Tab, add lines to include the different ticket types you offer. Include the price, the start and end dates for registrations, and even the maximum number of tickets that can be sold.
The Reserved Seats and Unconfirmed Seat Reservations are counted as attendees are marked as confirmed or not.
View of an event form emphasizing the tab tickets in Odoo Events

Tab: Communication

Choose the email and/or SMS message template, as well as the frequency with which you would like to communicate with your attendees under the tab Communication.
Create a template on the fly or choose an existing one. Define the Interval (2, 7, 15..) for the Unit (days, hours, weeks, etc.), and the Trigger action (after registration, after the event, etc.).
View of an event form and the tab communication in Odoo Events

Tab: Questions

Go to Configuration ‣ Settings and enable Questions.
Now, under the tab Questions, edit your questions and answers, choosing if you would like your questionnaire to be asked per order or per registration.
Example of a registration for 3 attendees: if enabling the option Ask each attendee, the questionnaire is shown 3 times, meaning that answers can vary for each attendee; if Ask each attendee is not enabled, the questionnaire is shown once, resulting in a global answer.
View of an event form and a question’s window opened in Odoo Events

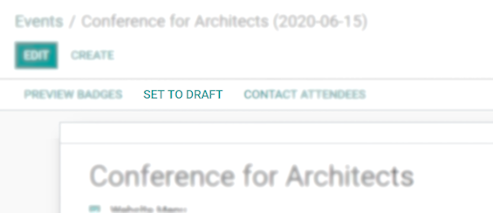
Once your event is Confirmed, you can manage attendees badges, and mark the event as Finished. Events marked as Finished can be Set to draft, putting the event back to an Unconfirmed stage from which it can be edited and used again.

View of an event’s form emphasizing the option set to draft in Odoo Events

Publish your event

Go to Website and turn Published on.

View of a website page and the option to publish the event in Odoo Events