Odoo.sh
Overview
Odoo.sh is integrated with the upgrade platform to make the upgrade process easier.
Note
The Upgrade tab is available in the branches view. It is only available for valid projects with a valid production build.

The suggested upgrade steps on Odoo.sh are:
On a Development branch, upgrade your custom modules to keep them compatible with the new version and thoroughly test them.
Switch that branch to the Staging branch, upgrade the last daily production backup and test it. Write upgrade scripts if necessary.
Trigger the production upgrade from your Production branch and sit tight.
See also
Upgrade your custom modules
The first step is to upgrade your custom modules to keep them compatible with the new version. Fork your Production branch in the Development stage, then go to the settings of your Development branch and select the Odoo version you target. If needed, modify your code to be compatible with the new version. Make sure to test your features are still working correctly.
Note
Depending on your contract, the upgrade of your custom modules can be done by yourself, by your Partner or by Odoo (if you hold a subscription including maintenance of customizations).
Upgrade your database on a staging branch
Take the upgraded development branch and drag & drop it to Staging.
Go to the Upgrade tab and select the target version. Then, click on Test Upgrade.

The latest production daily automatic backup is sent to the upgrade platform to start the upgrade test process.
Note
You can follow the upgrade process by going to the Upgrade menu of your Production branch.
When the upgraded backup is ready on the upgrade platform, it is automatically downloaded back to your project.
The branch is now in a special mode: each time a commit is pushed on the branch, a
restore operation of the upgraded backup occurs, and an update of all the custom modules
happens. This allows you to quickly iterate on your custom modules upgrade scripts. The log file of
the upgrade process can be found at ~/logs/upgrade.log in your newly upgraded staging build.
Note
The special upgrade mode is automatically closed after 30 days.
It may happen that custom modules are no longer needed after an upgrade. Custom modules in the upgraded database are set to be updated. If the modules are missing in the code, the update fails, thus failing the whole process. An empty module with a manifest and possibly some custom upgrade script are necessary to clean up the database. The complete removal of the module has to be handled afterwards.
Functionally test your upgraded database
Now that the test upgraded database is available on your staging branch, thoroughly test it and make sure everything runs as it’s supposed to. Once you are satisfied with the result, you are ready to upgrade your production database.
Production upgrade
Once you are happy with your testing, you can start the process on the Production branch.
On your Production branch, go to the Upgrade tab, select the targeted version and click on the start Upgrade button.

The actual process is triggered as soon as you push a new commit in your branch. Make sure you are pushing code that is compatible with the new version. For example by merging the code from your upgraded staging branch.
Note
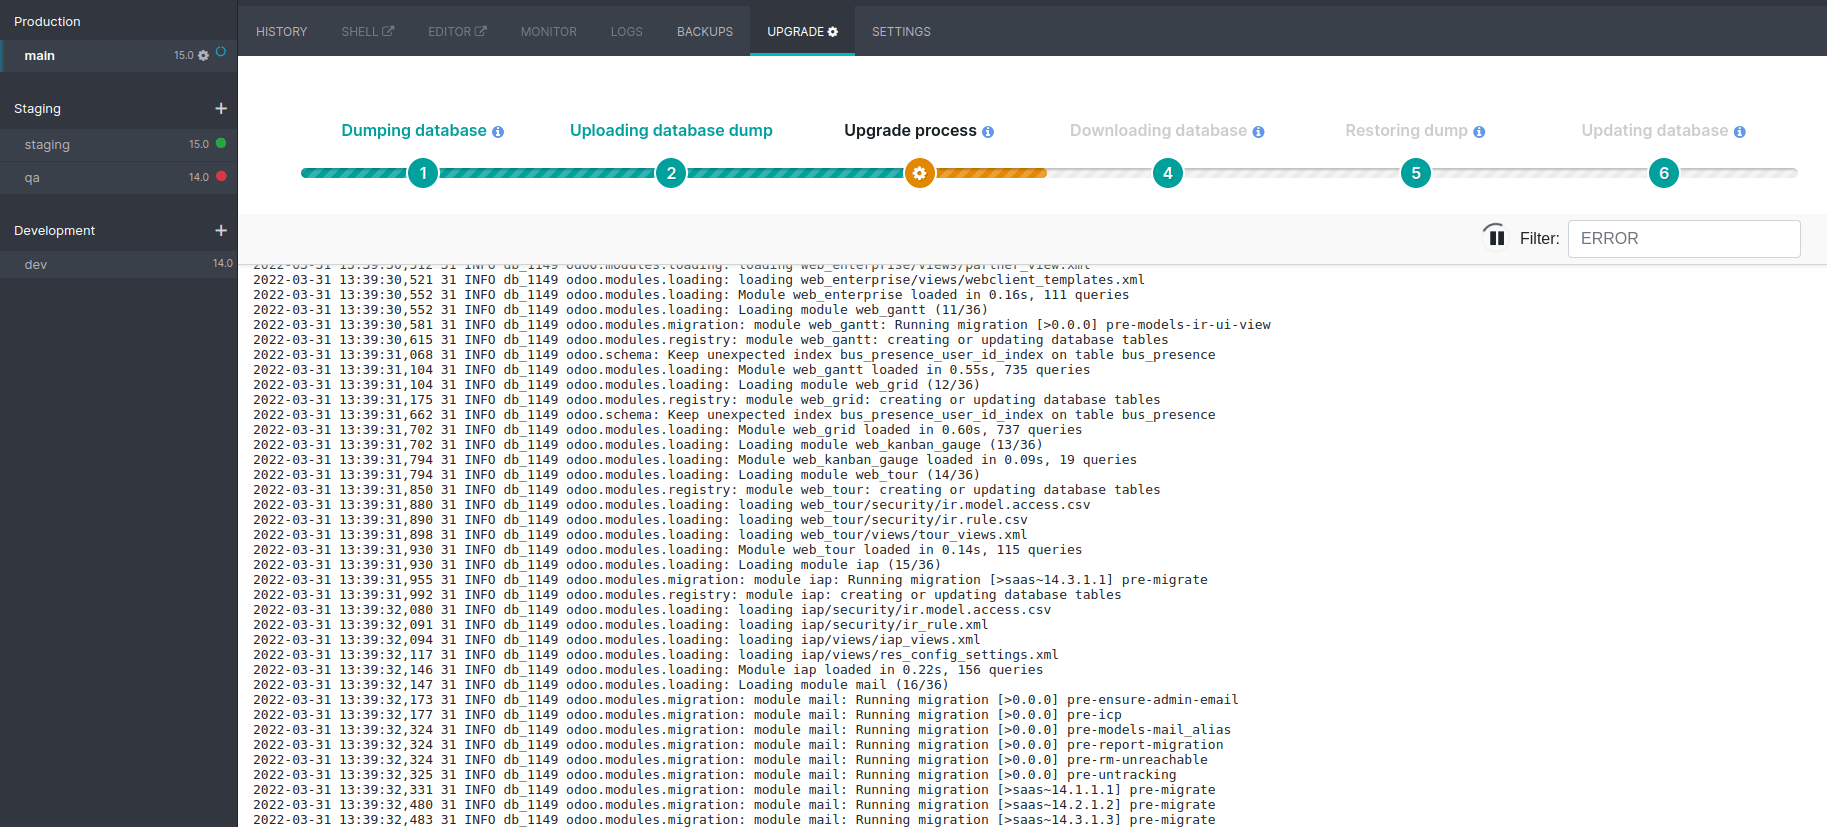
You can see the progress of the upgrade by going to the Upgrade tab of the main branch.
Important
Your database is unavailable throughout the process.
Note
If anything goes wrong, the platform automatically reverts the upgrade, the same as it would be for a regular update. In case of success, a backup is always made.
The update of your custom modules must be successful to complete the entire upgrade process. Make sure the status of your staging upgrade is successful before trying it in production.
Note
It may happen that custom modules are no longer needed after an upgrade. Custom modules in the upgraded database are set to be updated. If the modules are missing in the code, the update fails, thus failing the whole process. An empty module with a manifest and possibly some custom upgrade script are necessary to clean up the database. The complete removal of the module has to be handled afterwards.