Conectați Gmail la Odoo utilizând Google OAuth
Odoo este compatibil cu OAuth Google pentru Gmail. Pentru a trimite e-mailuri securizate de la un domeniu personalizat, tot ce este necesar este să configurați câteva setări pe platforma Workspace Google, precum și pe partea din spate a bazei de date Odoo. Această configurare funcționează prin utilizarea unei adrese de e-mail personală sau a unei adrese create de un domeniu personalizat.
Sfat
Pentru mai multe informații, vizitați documentația Google pentru configurarea OAuth.
Configurare în Google
Creare Proiect Nou
To get started, go to the Google API Console. Log in with your Google Workspace account if you have one, otherwise log in with your personal Gmail account (this should match the email address you want to configure in Odoo).
After that, click on Create Project, located on the far right of the OAuth consent screen. If a project has already been created in this account, then the New Project option will be located on the top right under the Select a project drop-down menu.
On the screen, rename the Project name to Odoo and
browse for the Location. Set the Location as the Google Workspace
organization. If you are using a personal Gmail account, then leave the Location as
No Organization.
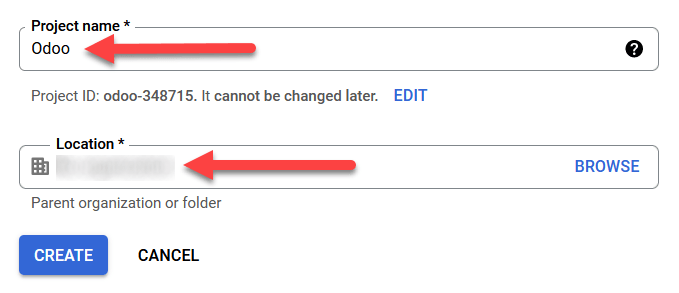
Click on Create to finish this step.
Ecran de consimțământ OAuth
If the page doesn’t redirect to the options, click on OAuth consent screen in the left menu.
Under User Type options, select the appropriate User Type, and then click on Create again, which will finally navigate to the page.
Atenționare
Personal Gmail Accounts are only allowed to be External User Type, which means Google may require an approval, or for Scopes to be added on. However, using a Google WorkSpace account allows for Internal User Type to be used.
Note, as well, that while the API connection is in the External testing mode, then no approval is necessary from Google. User limits in this testing mode is set to 100 users.
Editare înregistrare aplicație
Next we will configure the app registration of the project.
On the OAuth consent screen step, under the App information section, enter
Odoo in the App name field. Select the organization’s email address under the
User support email field.
În continuare, sub , faceți clic pe Add Domain și introduceți odoo.com.
După aceea, în secțiunea Developer contact information, introduceți adresa de e-mail a organizației. Google utilizează această adresă de e-mail pentru a notifica organizația despre orice modificări la proiectul dvs.
Next, click on the Save and Continue button. Then, skip the page by scrolling to the bottom and clicking on Save and Continue.
If continuing in testing mode (External), add the email addresses being configured under the Test users step, by clicking on Add Users, and then the Save and Continue button. A summary of the app registration appears.
Finally, scroll to the bottom and click on Back to Dashboard to finish setting up the project.
Creare credențiale
Now that the project is set up, credentials should be created, which includes the Client ID and Client Secret. First, click on Credentials in the left sidebar menu.
Apoi, faceți clic pe Create Credentials în meniul din partea de sus și selectați OAuth client ID din meniul dropdown.
Sub Application Type, selectați Web Application din meniul dropdown.
In the Name field, enter
Odoo.Under the Authorized redirect URIs label, click the button ADD URI, and then input
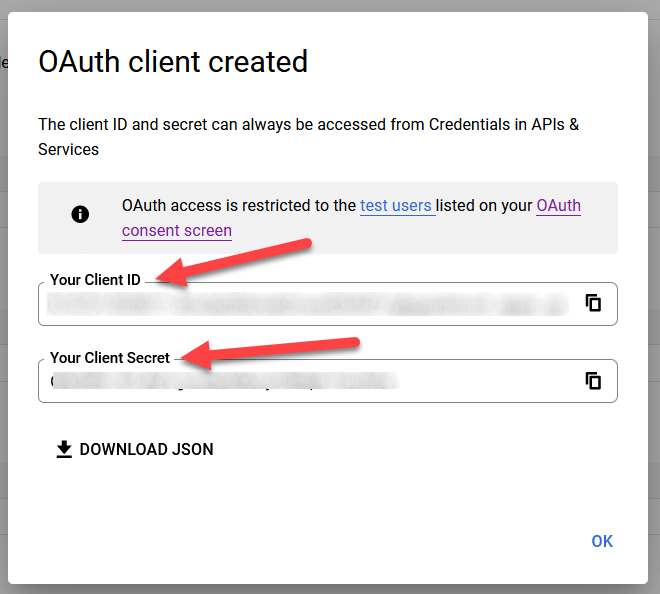
https://yourdbname.odoo.com/google_gmail/confirmin the URIs 1 field. Be sure to replace the yourdbname part of the URL with the actual Odoo database name.În continuare, faceți clic pe Create pentru a genera un Client ID și un Client Secret OAuth. În cele din urmă, copiați fiecare valoare generată pentru utilizare ulterioară la configurarea în Odoo, apoi navigați către baza de date Odoo.
Setare în Odoo
Introduceți credențialele Google
În primul rând, deschideți Odoo și navigați către modulul Apps. Apoi, eliminați filtrul Apps din bara de căutare și tastați Google. Instalați modulul numit Google Gmail.
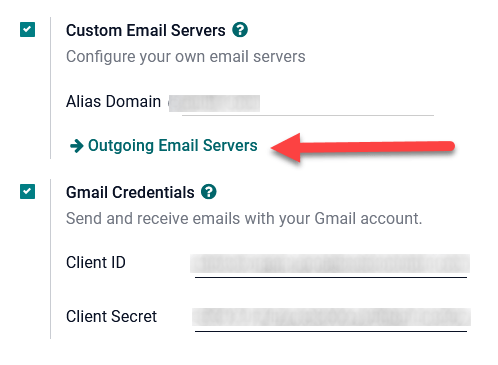
Next, navigate to , and under the Discuss section, ensure that the checkbox for Custom Email Servers or External Email Servers is checked. This populates a new option for Gmail Credentials or Use a Gmail Sever. Then, copy and paste the respective values into the Client ID and Client Secret fields and Save the settings.
Configurați serverul de e-mail de ieșire
To configure the external Gmail account, return to the top of the Custom Email Servers setting and then click the Outgoing Email Servers link.
Then, click on New or Create to create a new email server, and fill in the Name, Description, and the email Username (if required).
Next, click on Gmail OAuth Authentication or Gmail (under the Authenticate with or Connection section). Finally, click on Connect your Gmail Account.
A new window labeled Google opens to complete the authorization process. Select the appropriate email address that is being configured in Odoo.
If the email address is a personal account, then an extra step pops up, so click Continue to allow the verification and connect the Gmail account to Odoo.
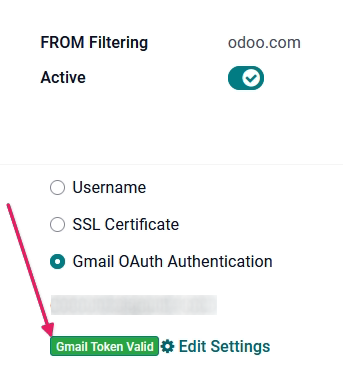
Apoi, permiteți accesul la contul Google din Odoo făcând clic pe Continue sau Allow. După aceea, pagina navighează înapoi la serverul de e-mail de ieșire nou configurat în Odoo. Configurarea încarcă automat token-ul în Odoo, și o etichetă care afirmă Gmail Token Valid apare în verde.
Finally, Test the Connection. A confirmation message should appear. The Odoo database can now send safe, secure emails through Google using OAuth authentication.
Întrebări frecvente despre Google OAuth
Starea publicării de producție VS testare
Choosing Production as the Publishing Status (instead of Testing) will display the following warning message:
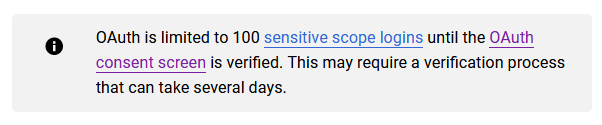
Pentru a corecta această avertizare, navigați la Google API Platform. Dacă Publishing status este In Production, faceți clic pe Back to Testing pentru a corecta problema.
Nu s-au adăugat utilizatori de test
Dacă nu sunt adăugați utilizatori de test la ecranul de consimțământ OAuth, atunci o eroare de acces 403 refuzat va popula.
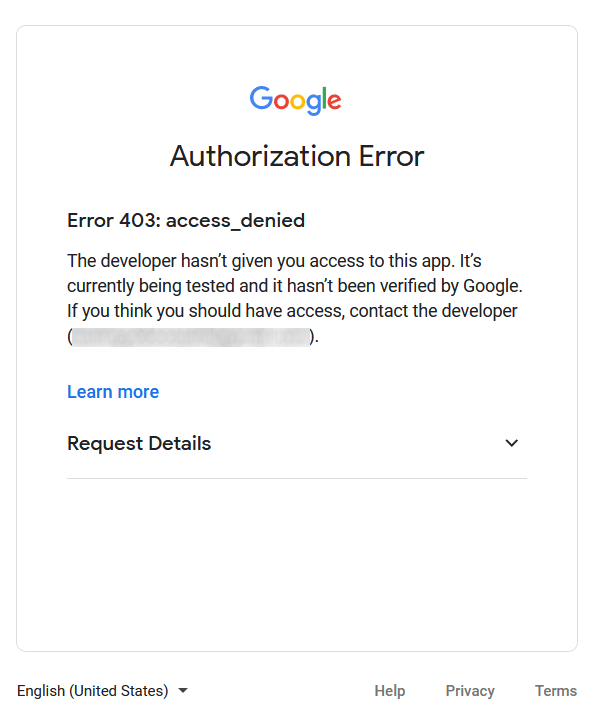
Pentru a corecta această eroare, reveniți la OAuth consent screen sub APIs & Services și adăugați utilizator(i) de test la aplicație. Adăugați adresa de e-mail pe care o configurați în Odoo.
Modulul Gmail nu este actualizat
If the Google Gmail module in Odoo has not been updated to the latest version, then a Forbidden error message populates.
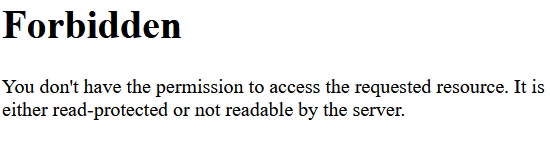
To correct this error, go to the module and clear out the search terms. Then,
search for Gmail or Google and upgrade the Google Gmail module. Finally, click
on the three dots on the upper right of the module and select Upgrade.
Tipul aplicației
When creating the credentials (OAuth Client ID and Client Secret), if Desktop App is selected for the Application Type, an Authorization Error appears.
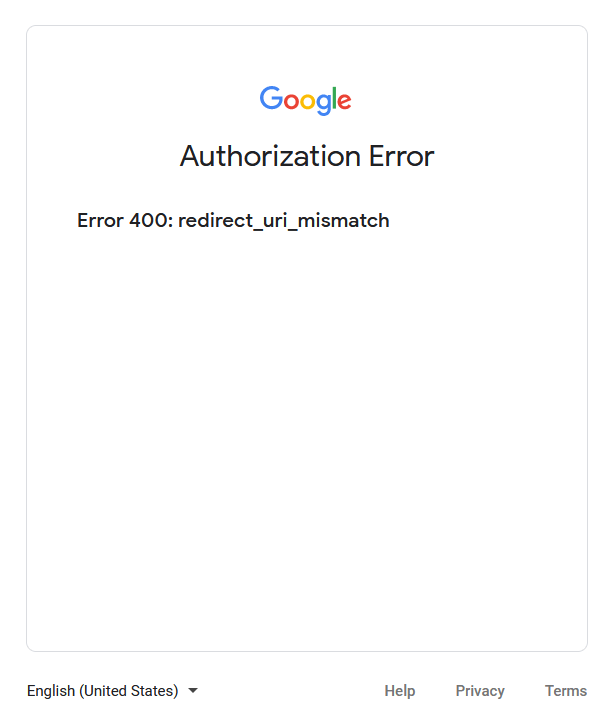
To correct this error, delete the credentials already created and create new credentials, selecting
Web Application for the Application Type. Then, under Authorized
redirect URIs, click ADD URI and type:
https://yourdbname.odoo.com/google_gmail/confirm in the field, being sure to replace yourdbname
in the URL with the Odoo database name.