Check in and out
Odoo’s Attendances application allows users, who are logged into the database, to check in and out, without needing to go into the Attendances application, or use a kiosk. For smaller companies, where every employee is also a user, this feature may be useful.
A user can check in and/or out on the main database Odoo dashboard, or while inside any application. To do so, in the upper-right corner of the top main header menu, which is always visible regardless of what application the user is in, a 🔴 (red circle) or 🟢 (green circle) is visible. Click on the colored circle to reveal the attendance widget, enabling the user to check in and/or out.

Check in
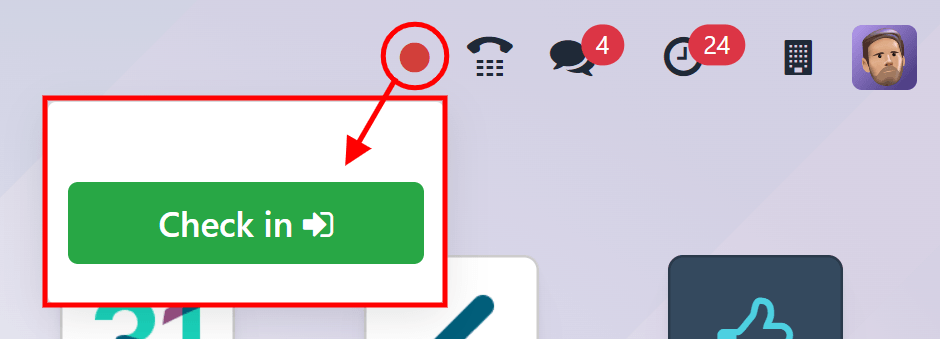
If the attendance widget circle is red, this indicates the user is not currently checked in. Click the 🔴 (red circle), and the attendance widget appears, displaying a green Check in button.
When the user checks in from the database, the Attendances app logs the location details for the user, including the IP Address and GPS coordinates.
Important
For the Attendances app to log the location details, the user must allow their computer to access their location information.
If the user has not already checked in and out during the current work day, this button is the only visible item in the widget. If the user has previously checked in and out, a Total today field appears above the button, and the total amount of time that has been logged for the day appears in that field, in an HH:MM (hours:minutes) format.
Click the Check in button to check in. The 🔴 (red circle) in the top menu changes to green, and the widget changes appearance, as well. The widget updates to reflect that the user has checked in, by changing the green Check in button to a yellow Check out button.
Click anywhere on the screen to close the attendance widget.
Check out
If the user is checking out for the first time, Since HH:MM (AM/PM) appears at the top of the widget, with the time the user checked in populating the time field. Beneath that line, the hours and minutes that have elapsed since checking in are displayed in a HH:MM format. As time passes, this value is updated to reflect the hours and minutes that have passed since the user checked in.
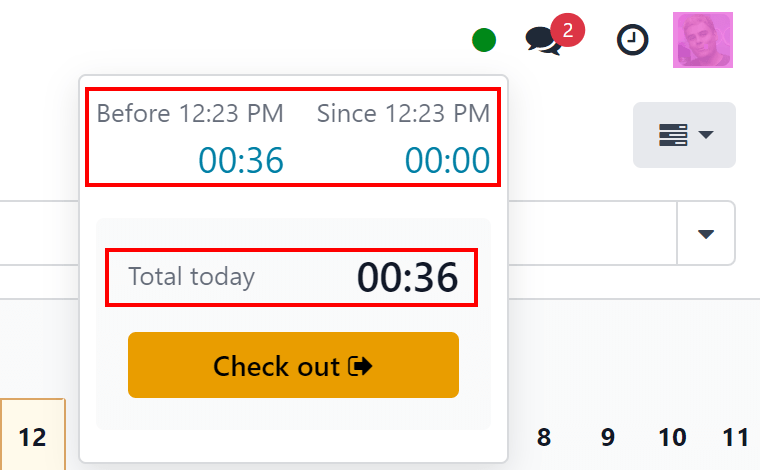
If the user has previously checked in and out, additional fields are presented. A Before HH:MM (AM/PM) field appears, in addition to the Since HH:MM (AM/PM) field. The times displayed in both of these fields match, and are populated with the most recent check in time. Beneath the Before HH:MM (AM/PM) field, the previously logged time is displayed, in an HH:MM (hours:minutes) format.
In addition, beneath both of these fields, a Total today field appears. This field is the sum of both the Before HH:MM (AM/PM) and Since HH:MM (AM/PM) fields, and is the total time that is logged for the user, if they were to log out at that moment.
As time passes, both the Since HH:MM (AM/PM) and Total today fields are updated live. To check out, click the yellow Check out button. The attendance widget updates again, displaying the Total today field with the logged time, while the yellow Check out button changes to a green Check in button.
When the user checks out from the database, the Attendances app logs the location details for the user. This information is only logged if the user allows their computer to access this information.
Tip
There is no limit to the amount of times a user can check in and check out. Users are able to check in and out without any time elapsing (a value of 00:00). Each time an employee logs in and out, the information is stored and appears on the main Attendances dashboard, including check ins and check outs with no time value.