Chapter 3: Customize a kanban view
We have gained an understanding of the numerous capabilities offered by the web framework. As a next step, we will customize a kanban view. This is a more complicated project that will showcase some non trivial aspects of the framework. The goal is to practice composing views, coordinating various aspects of the UI, and doing it in a maintainable way.
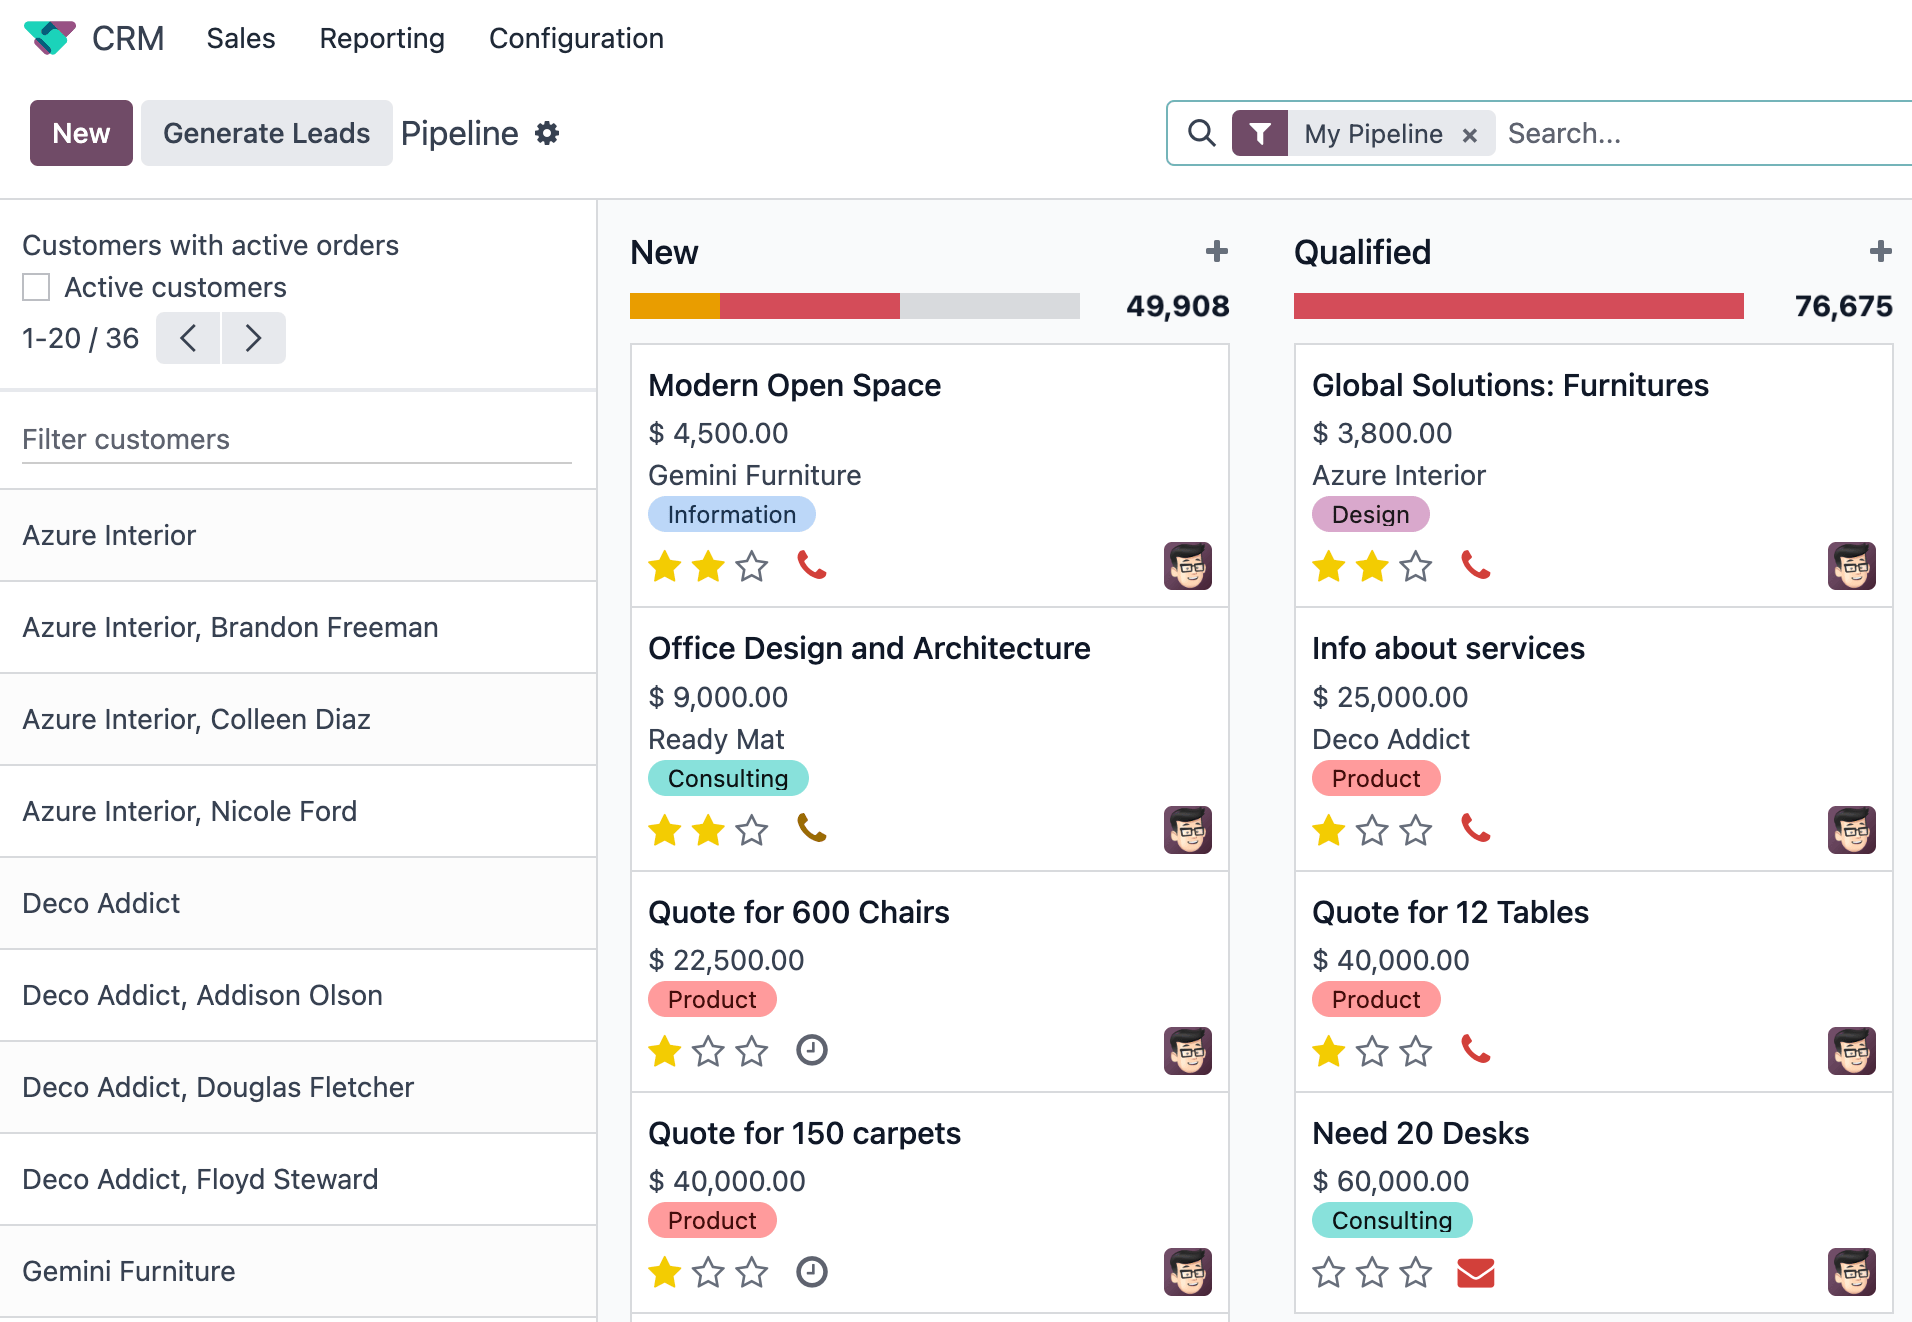
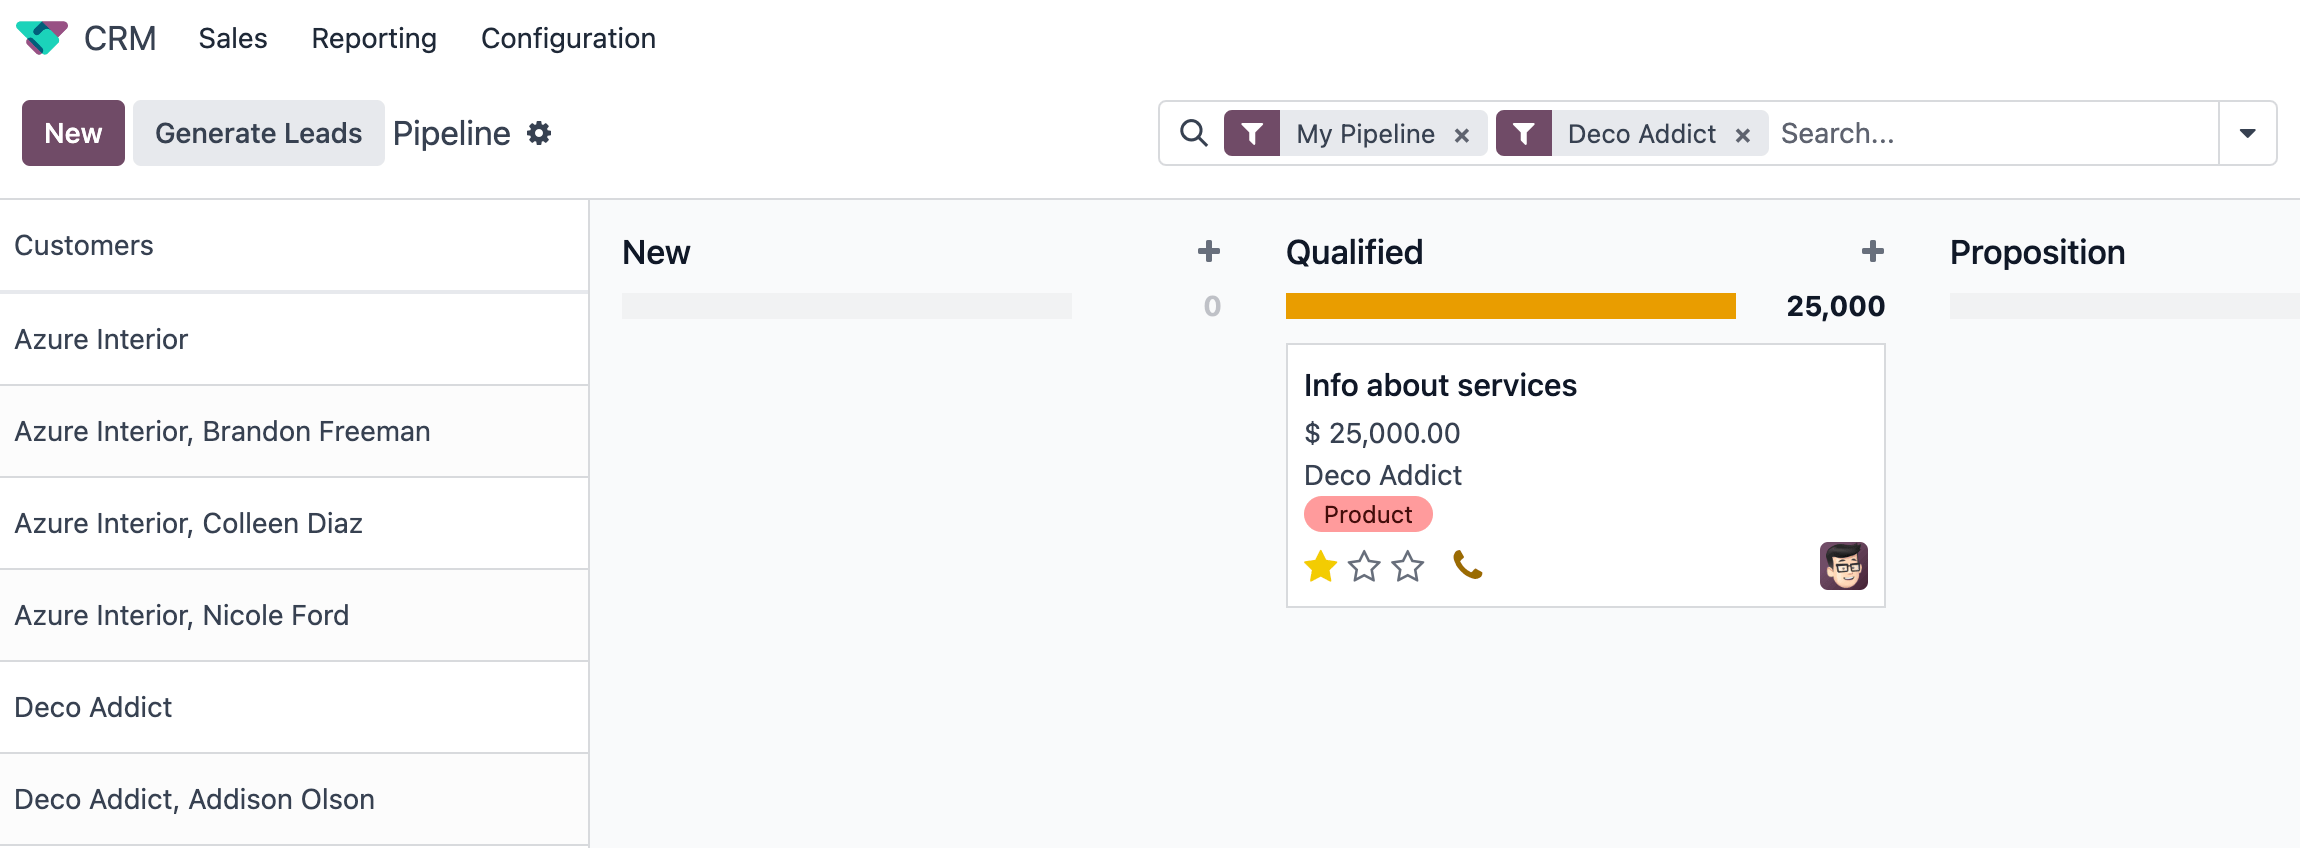
Bafien had the greatest idea ever: a mix of a kanban view and a list view would be perfect for your needs! In a nutshell, he wants a list of customers on the left of the CRM kanban view. When you click on a customer on the left sidebar, the kanban view on the right is filtered to only display leads linked to that customer.
Goal
The solutions for each exercise of the chapter are hosted on the official Odoo tutorials repository.
1. Create a new kanban view
Since we are customizing the kanban view, let us start by extending it and using our extension in the kanban view of CRM.
Create a new empty component that extends the
KanbanControllercomponent from@web/views/kanban/kanban_controller.Create a new view object and assign all keys and values from
kanbanViewfrom@web/views/kanban/kanban_view. Override the Controller key by putting your newly created controller.Register it in the views registry under
awesome_kanban.Update the crm kanban arch in
awesome_kanban/views/views.xmlto use the extended view. This can be done by specifying thejs_classattribute in the kanban node.
2. Create a CustomerList component
We will need to display a list of customers, so we might as well create the component.
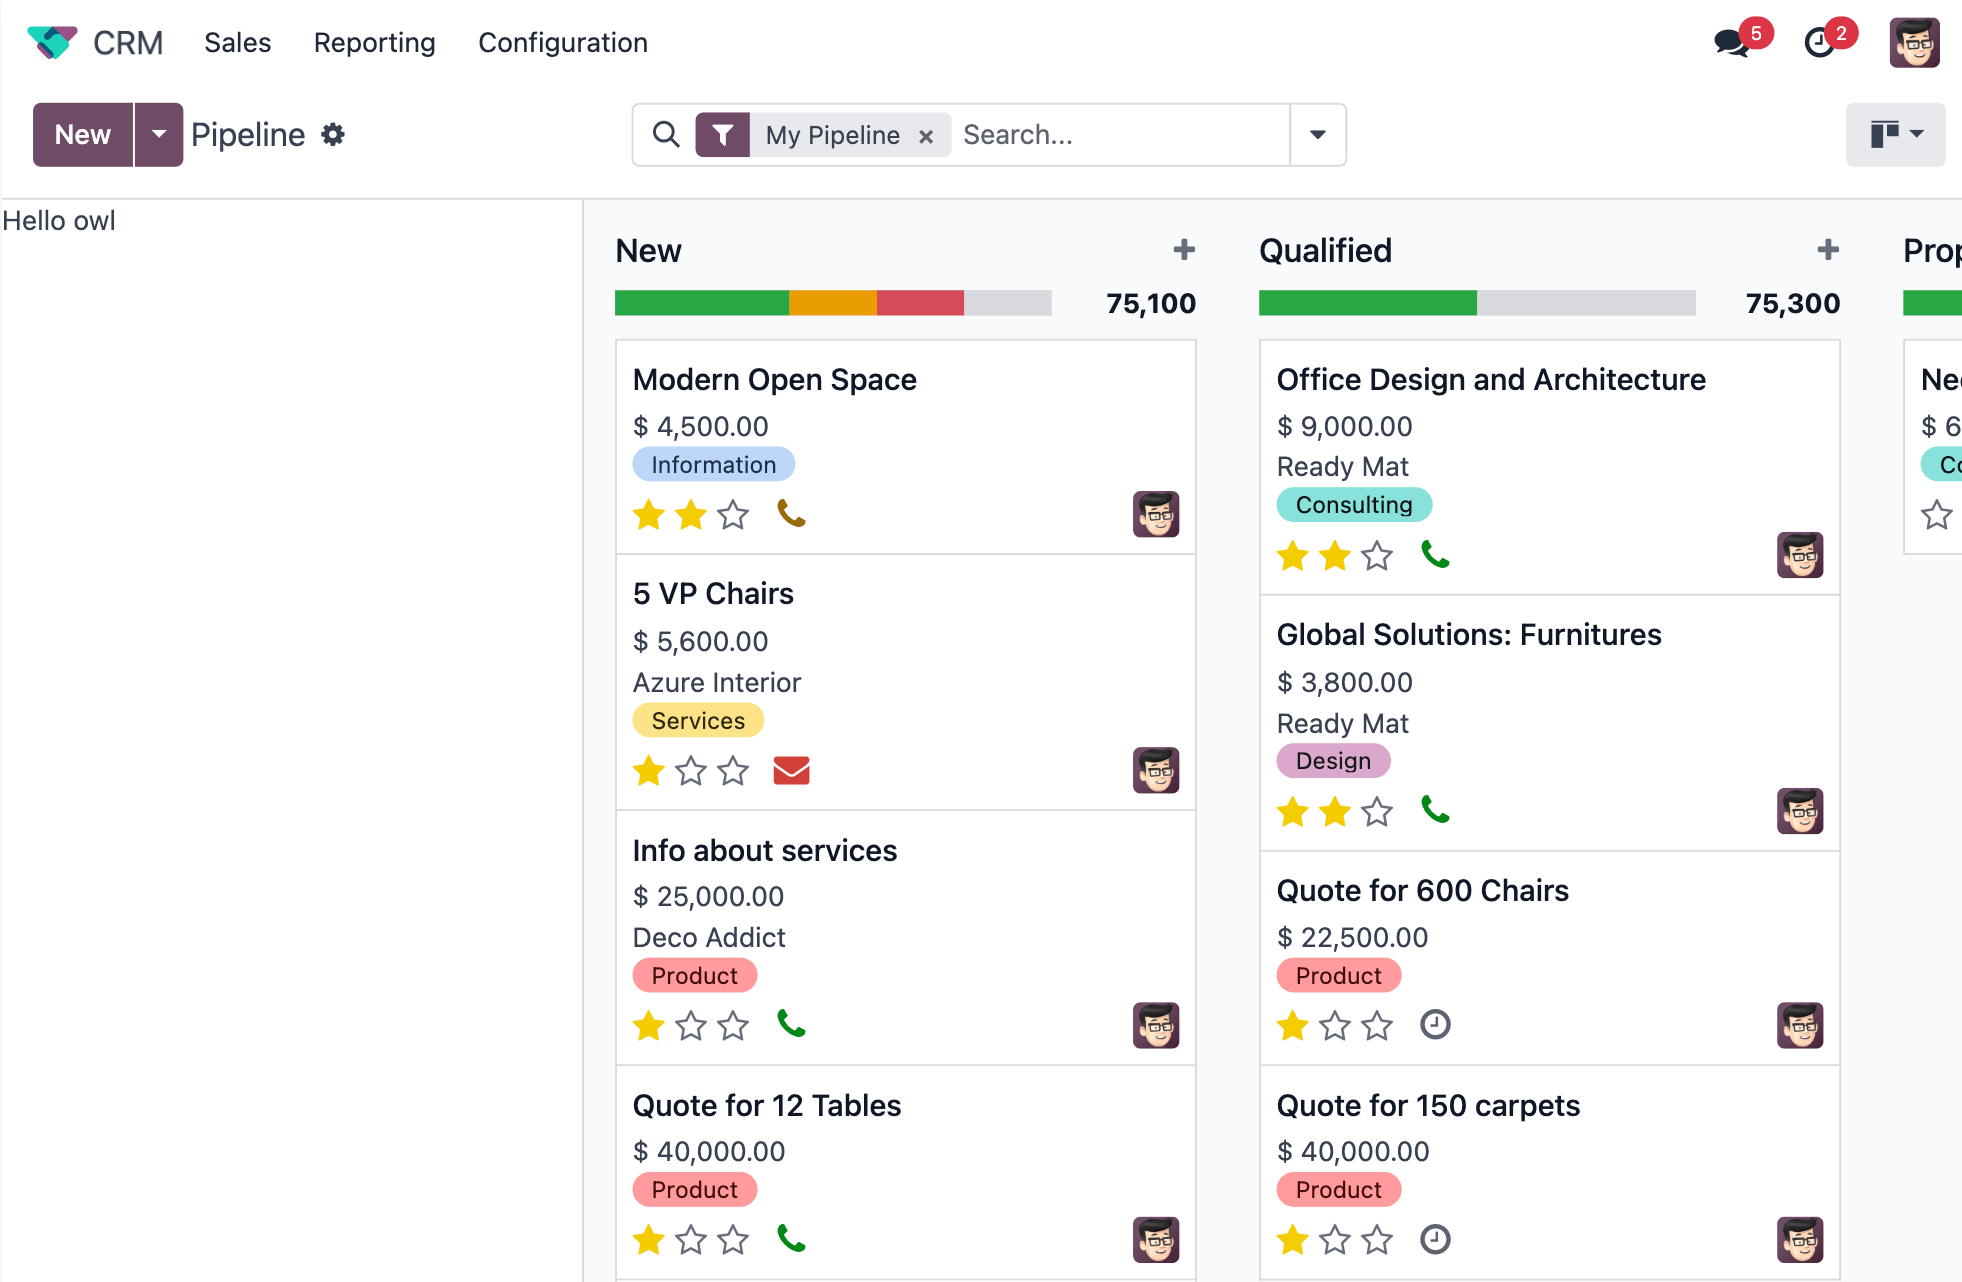
Create a
CustomerListcomponent which only displays adivwith some text for now.It should have a
selectCustomerprop.Create a new template extending (XPath) the kanban controller template
web.KanbanViewto add theCustomerListnext to the kanban renderer. Give it an empty function asselectCustomerfor now.Tip
You can use this xpath inside the template to add a div before the renderer component.
<xpath expr="//t[@t-component='props.Renderer']" position="before">
   ...
</xpath>
Subclass the kanban controller to add
CustomerListin its sub-components.Make sure you see your component in the kanban view.
See also
3. Load and display data
Modify the
CustomerListcomponent to fetch a list of all customers inonWillStart.Display the list in the template with a
t-foreach.Whenever a customer is selected, call the
selectCustomerfunction prop.
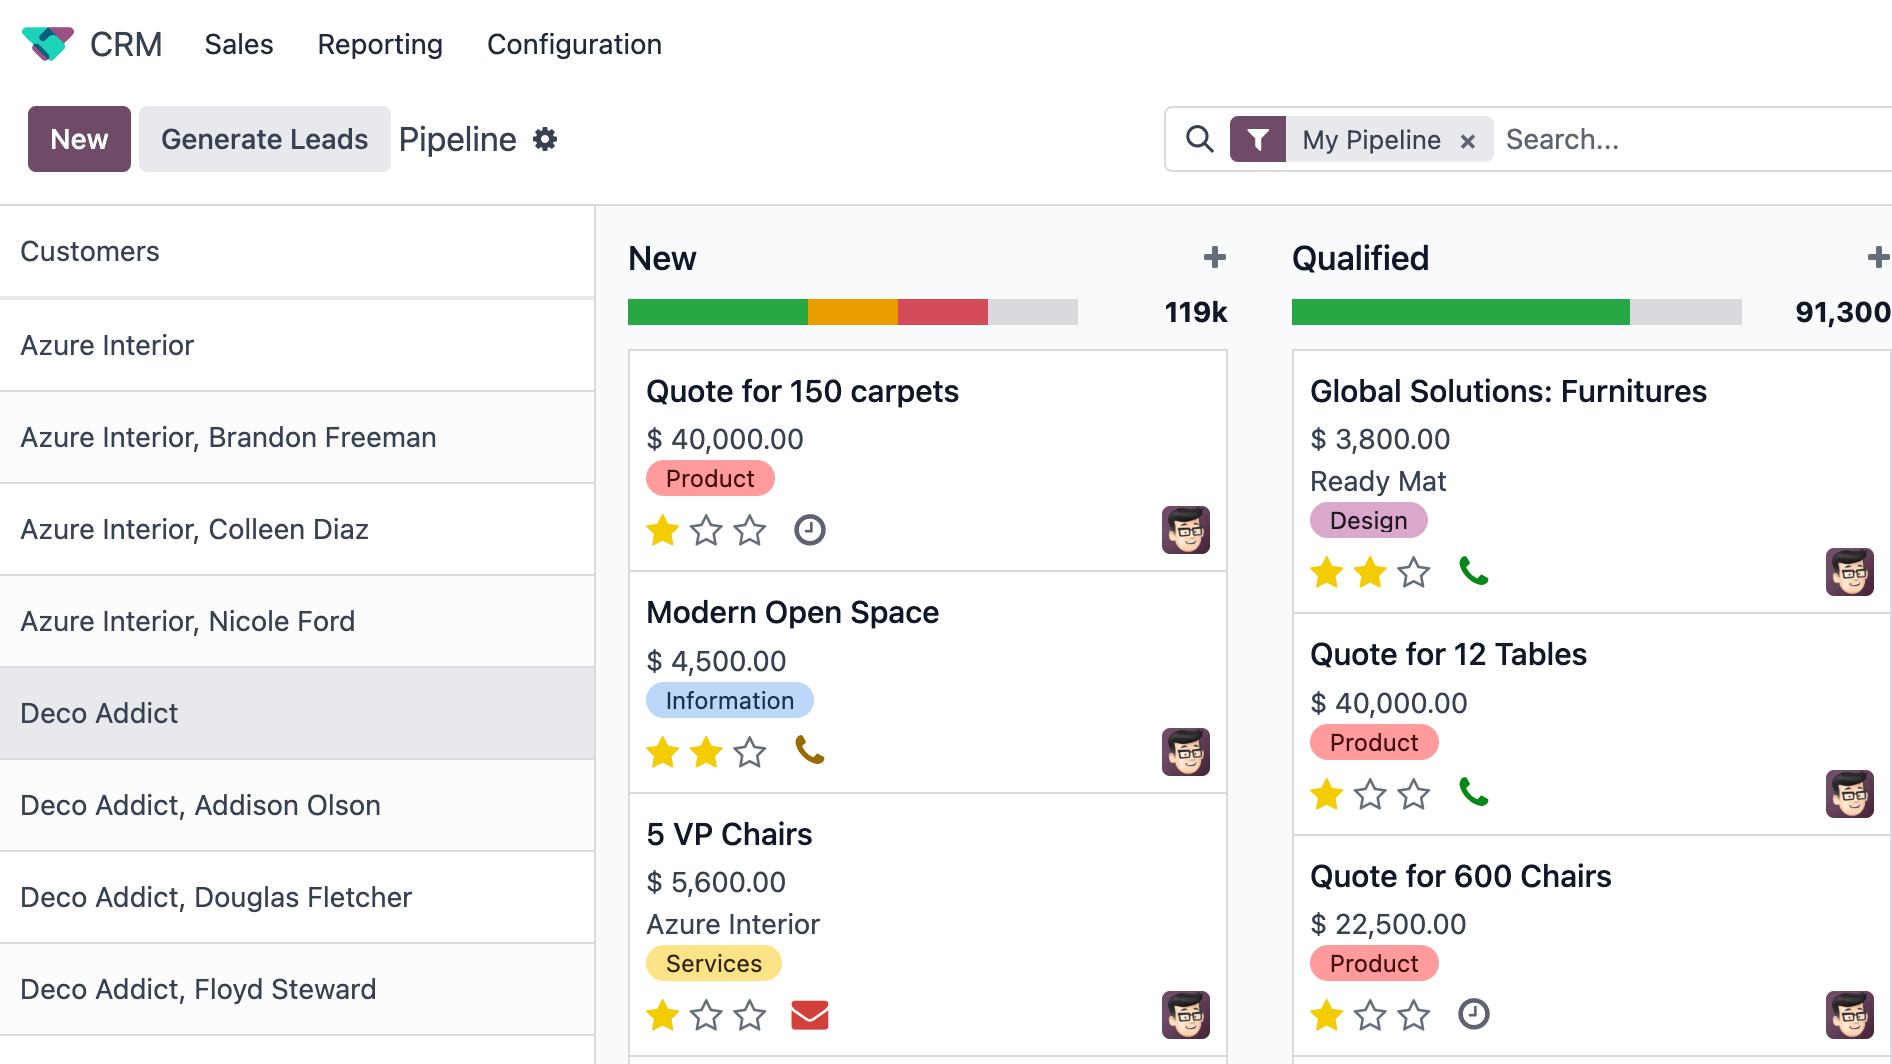
4. Update the main kanban view
Implement
selectCustomerin the kanban controller to add the proper domain.Tip
Since it is not trivial to interact with the search view, here is a snippet to create a filter:
this.env.searchModel.createNewFilters([{
      description: partner_name,
      domain: [["partner_id", "=", partner_id]],
      isFromAwesomeKanban: true, // this is a custom key to retrieve our filters later
}])
By clicking on multiple customers, you can see that the old customer filter is not replaced. Make sure that by clicking on a customer, the old filter is replaced by the new one.
Tip
You can use this snippet to get the customers filters and toggle them.
const customerFilters = this.env.searchModel.getSearchItems((searchItem) =>
      searchItem.isFromAwesomeKanban
);

for (const customerFilter of customerFilters) {
   if (customerFilter.isActive) {
         this.env.searchModel.toggleSearchItem(customerFilter.id);
   }
}
Modify the template to give the real function to the
CustomerListselectCustomerprop.
Note
You can use Symbol
to make sure that the custom isFromAwesomeKanban key will not collide with keys any other
code might add to the object.
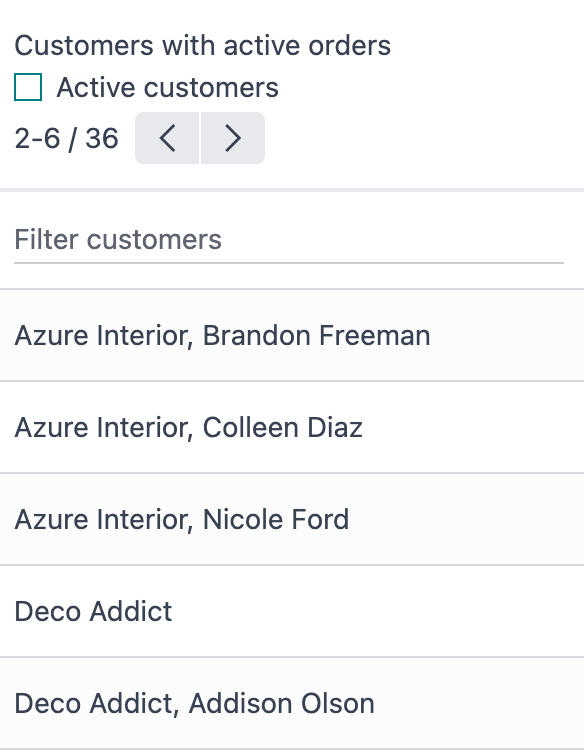
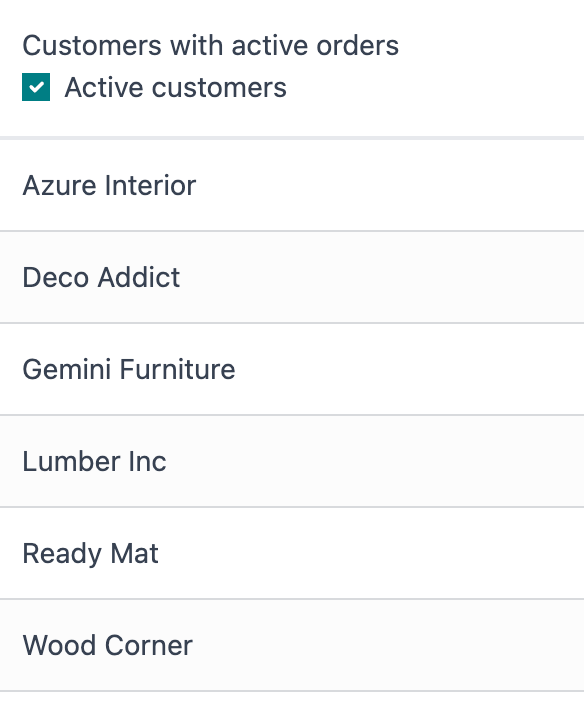
5. Only display customers which have an active order
There is a opportunity_ids field on res.partner. Let us allow the user to filter results on
customers with at least one opportunity.
Add an input of type checkbox in the
CustomerListcomponent, with a label “Active customers” next to it.Changing the value of the checkbox should filter the list of customers.
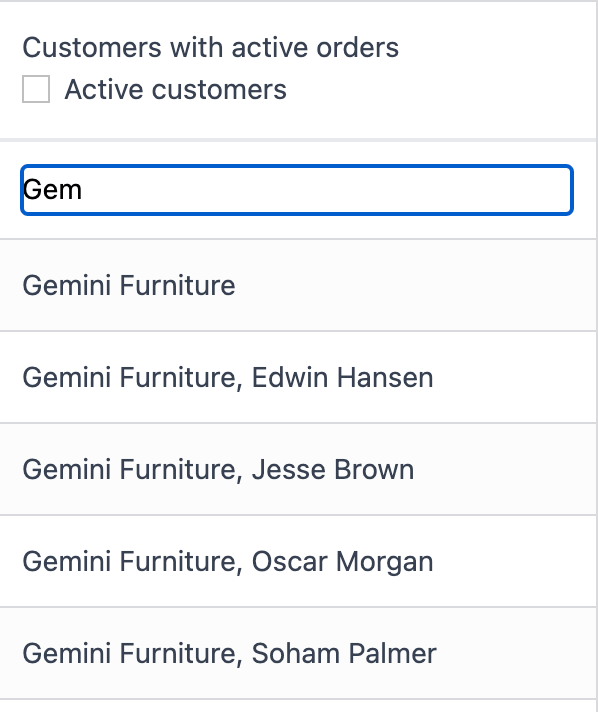
6. Add a search bar to the customer list
Add an input above the customer list that allows the user to enter a string and to filter the displayed customers, according to their name.
Tip
You can use the fuzzyLookup from @web/core/utils/search function to perform the
filter.
7. Refactor the code to use t-model
To solve the previous two exercises, it is likely that you used an event listener on the inputs. Let us see how we could do it in a more declarative way, with the t-model directive.
Make sure you have a reactive object that represents the fact that the filter is active (something like
this.state = useState({ displayActiveCustomers: false, searchString: ''})).Modify the code to add a getter
displayedCustomerswhich returns the currently active list of customers.Modify the template to use
t-model.
8. Paginate customers!
Add a pager in the
CustomerList, and only load/render the first 20 customers.Whenever the pager is changed, the customer list should update accordingly.
This is actually pretty hard, in particular in combination with the filtering done in the previous exercise. There are many edge cases to take into account.