Etiquetas electrónicas para estanterías
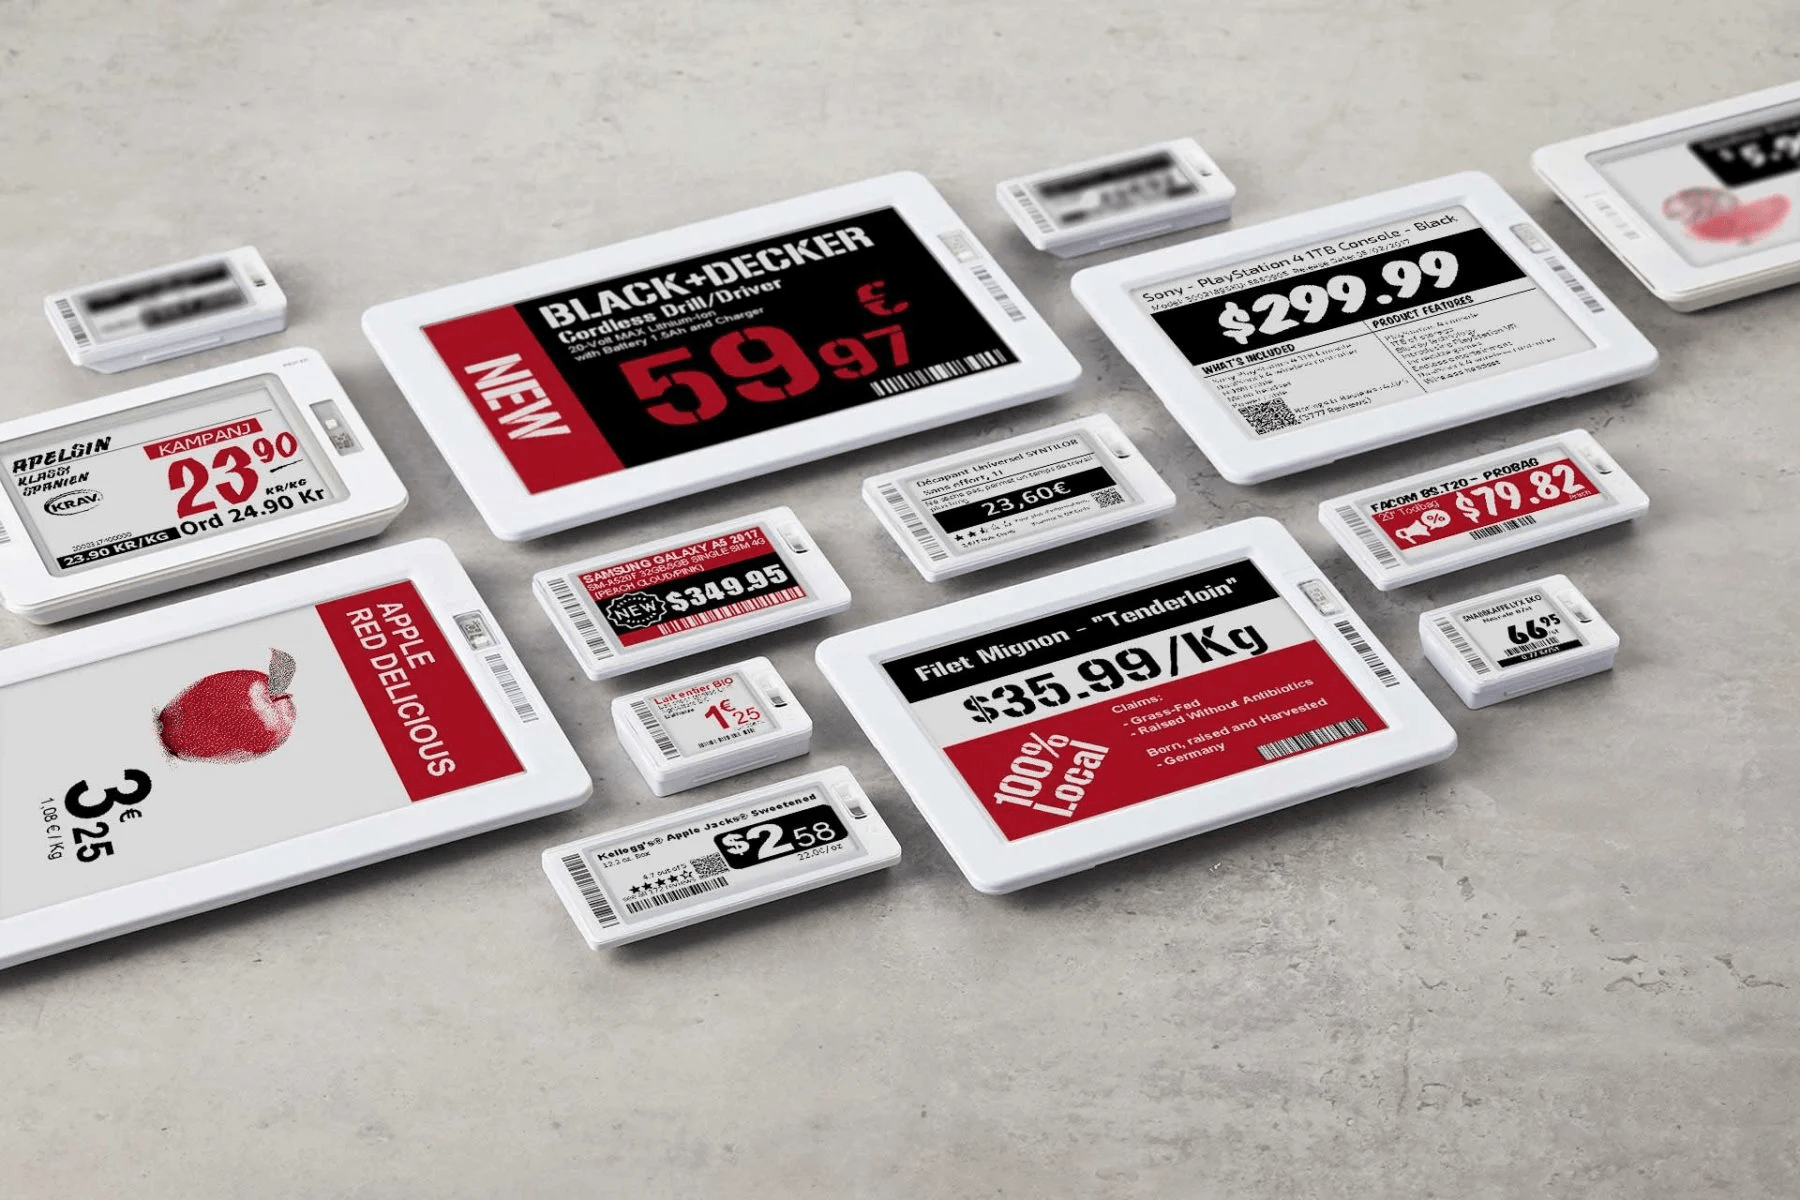
Las etiquetas electrónicas para estanterías permiten mostrar información sobre los productos, como precios y códigos de barras, en las estanterías de las tiendas y sincronizarlas a distancia desde el backend. Esto elimina la necesidad de imprimir nuevas etiquetas cuando cambia la información del producto.
Nota
Odoo usa etiquetas electrónicas de Pricer.
Configuración
Configuración de Pricer
Póngase en contacto con Pricer para crear y configurar su cuenta de Pricer.
Cree sus tiendas: una tienda de pricer equivale a una tienda física.
Vincule tantos transceptores como sea necesario a la(s) tienda(s) Pricer.
Cree las siguientes variables para compartir información de producto entre su sistema de base de datos Odoo y Pricer. Estas variables actúan como marcadores de posición en la plantilla de etiqueta.
itemId: contiene el identificador interno único asignado a cada productoitemName: el nombre del productoprice: el precio de venta del producto, con impuestos aplicables.presentation: el nombre de la plantilla utilizada en Pricer para mostrar la información del producto en la etiquetacurrency: la divisa de su empresa (por ejemplo, USD, EUR)barcode: el número de código de barras asociado a cada producto.
Importante
Los nombres de estas variables deben ser idénticos en su base de datos Pricer.
Cree una plantilla llamada
NORMAL. Esta plantilla se usa para mostrar información sobre las etiquetas digitales.
Una vez que su cuenta, tiendas, variables y plantillas estén configuradas en Pricer, ahora puede empezar a configurar su base de datos de Odoo.
Importante
La cuenta asociada a su tienda de Pricer debe tener acceso para enviar solicitudes de API a Pricer.
Configuración en Odoo
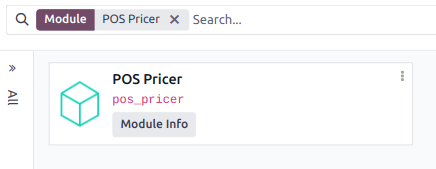
Como requisito previo, active el módulo Etiquetas electrónicas para PdV (nombre técnico pos_pricer) para tener todas las funciones para usar las etiquetas electrónicas Pricer.
Una vez que se active el módulo, configure sus tiendas Pricer y asocie las etiquetas electrónicas a sus productos.
Tiendas Pricer
De forma similar a la configuración en Pricer, necesita crear una tienda Pricer por ubicación física. Para ello, vaya a , haga clic en Nuevo, y rellene la línea con la información requerida:
Nombre de la tienda: puede poner el nombre que quiera.
Nombre del tenedor de Pricer: el nombre de su cuenta de empresa en Pricer, normalmente seguido de
country_code. Este valor lo proporciona Pricer.Inicio de sesión en Pricer: el nombre de usuario de su cuenta Pricer.
Contraseña Pricer: la contraseña de su cuenta de Pricer.
ID de la tienda Pricer: el identificador de la tienda Pricer relacionada, tal y como está definido en su base de datos Pricer.

Nota
La columna Etiquetas de Pricer se actualiza automáticamente cuando se vincula una etiqueta a un producto.
The Last Update and Last Update Status columns are updated automatically when the tags are updated.
Etiquetas de Pricer
For a label to display specific product information, the label needs to be associated with the product. To do so:
Open the product form by going to and clicking New or selecting an existing product.
Nota
If you are creating a new product, configure and save it before associating any Pricer tags.
Go to the Sales tab, scroll to the Pricer section, and select the corresponding Pricer Store.
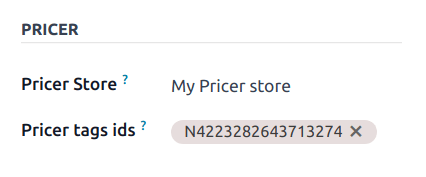
Fill in the Pricer tags ids field by copying the label’s ID from the label itself or scanning its barcode.
Nota
Pricer tag IDs are composed of a letter followed by 16 digits.
Truco
We recommended using a barcode scanner to speed up the encoding process.
When setting up Pricer with Odoo for the first time, it is recommended that you configure only one product first. Before configuring more products, ensure you can display their information on a Pricer tag.
Now that you have a product associated with a Pricer tag, we can send its information to Pricer.
Aplicación práctica
Odoo automatically sends requests to Pricer to synchronize the tags every 12 hours if you make any modifications to:
Product name, price, barcode, or customer taxes
Moneda
Associated Pricer store or Pricer tags
To force the update, activate the developer mode. Then:
Go to .
Select the desired store(s).
Click Update tags to update all tags affected by changes to:
Product name, price, barcode, or customer taxes
Moneda
Associated Pricer store or Pricer tags
Alternatively, click Update all tags to force the update of every tag, regardless of whether changes were made.

If Pricer has processed and accepted the request, the status field shows Update successfully sent to Pricer. If there is any issue, the system displays an error message.
Advertencia
If a request sent to Pricer fails, Odoo still considers that the product has been updated. In that case, we recommend forcing the update of all tags.