
Here is the dongle : https://www.ldlc.pro/fr-be/fiche/PB00463451.html?offerId=AR202104280057
Follow the steps :
1. Connect to WiFi/Dongle
Insert the dongle in the printer (you will need to remove this): 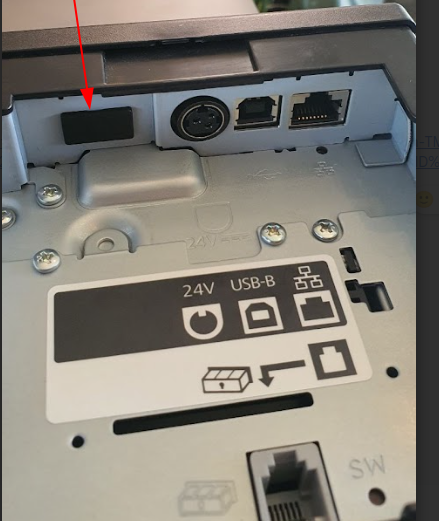
Reset the printer.
A ticket with an IP address should be printed.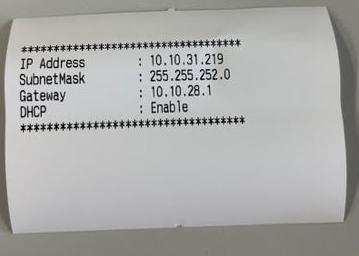
Go to your Wifi Configuration on your Tablet/PC and Connect to the Epson Wifi Network using the code 12345678.
Then connect to the IP address (here :10.10.31.219) :
User: epson
Password: Serial Number of Epson printer (can be found at the back of the printer)
Once you are connected, go to :
1) Configuration > Network > Wireless and set the SSID as your Wi-Fi network name.
2) In Encryption Type, select WPA-PSK (AES), and enter your Wi-Fi password (documentation)
Confirm by clicking "Send."
Click on "Reset."
2. Configuration in Odoo DB
Go to Configuration > Point of Sale (POS) > ePos Printer : 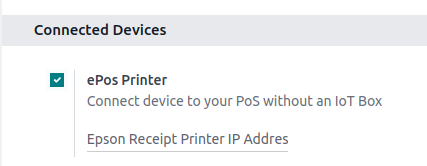
Enter the IP address of the printer's Wi-Fi (here : 10.10.31.219)
You will also have to create a new system parameter in your DB (be in debug mode > system parameters) :
- Key: point_of_sale.enforce_https
- Value: True
3. Print & Connect to IP Address on tablet (Ipad/Android)
Go to POS > Buy a product > Click on “Print the receipt”.
You will get an error message asking you to access the printer IP address.
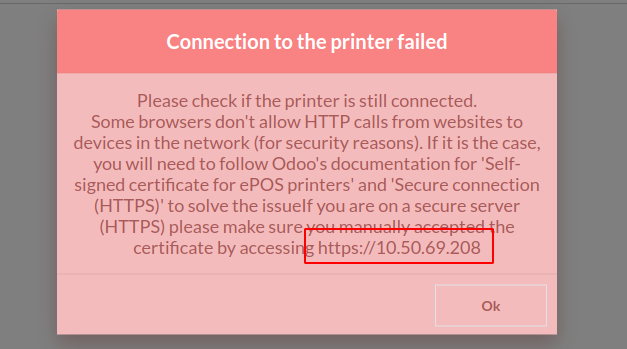
(! Here the IP address should be : 10.10.31.319 !)
Connect again to this IP address > Click on Proceed anyways and then you can click on cancel when it asks you to fill in the username and password.
You will reload the page on your POS and click on “Print the receipt” and then the ticket will be printed :-)


