Políticas de control de facturación
In Odoo’s Purchase app, the bill control policy determines the quantities billed by vendors on every purchase order (PO), for either ordered or received quantities.
The policy selected in the Purchase app settings acts as the default value, and is applied to any new product created.
Configuración
To configure the bill control policy, navigate to , and scroll down to the Invoicing section. Under Bill Control, select either Ordered quantities or Received quantities. Then, click Save.
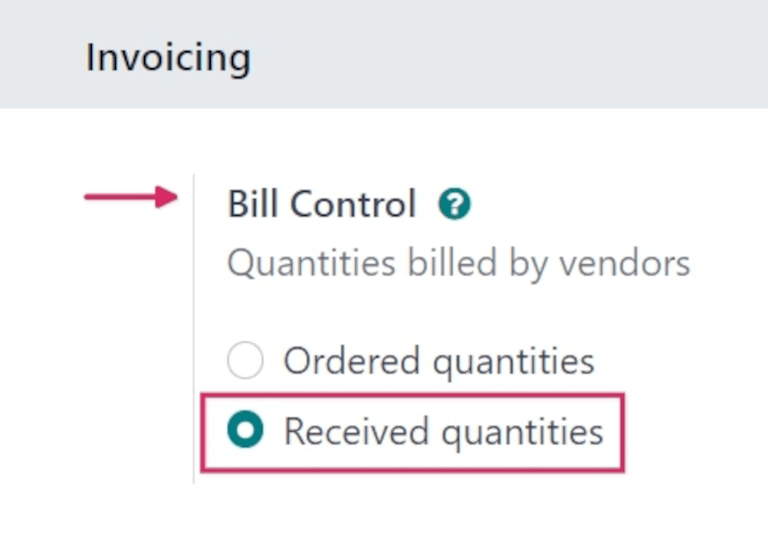
Ordered quantities: creates a vendor bill as soon as a PO is confirmed. The products and quantities in the PO are used to generate a draft bill.
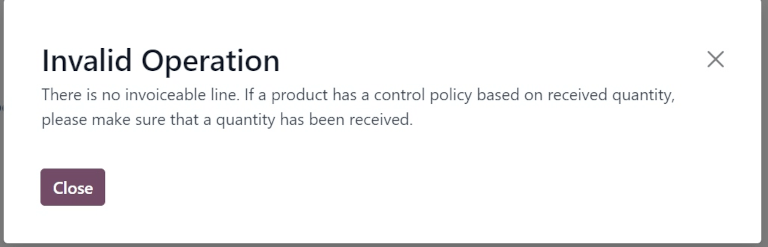
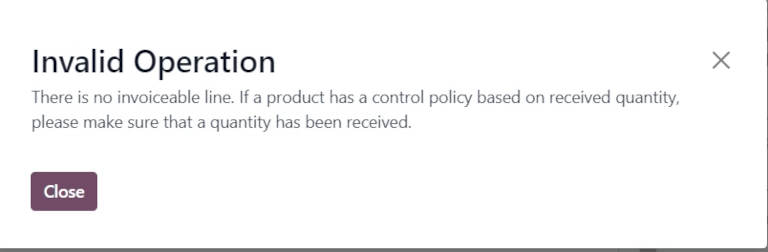
Received quantities: a bill is created only after part of the total order has been received. The products and quantities received are used to generate a draft bill. An error message appears if creation of a vendor bill is attempted without receiving anything.
Nota
If a specific product should use a different control policy than selected in the Purchase app settings, the Bill Control policy for that product can be changed from its product form.
To do that, navigate to , and select a product. From the product form, click the Purchase tab. Under the Vendor Bills section, modify the selection in the Control Policy field.
Asignación de 3-vías
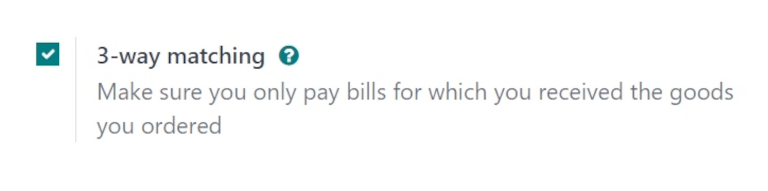
The 3-way matching feature ensures vendor bills are only paid once some (or all) of the products included in the PO have been received.
To activate 3-way matching, navigate to , and scroll down to the Invoicing section. Then, tick the checkbox for 3-way matching to enable the feature, and click Save.
Importante
The 3-way matching feature only works with the Bill Control policy set to Received quantities.
Pague las facturas de proveedor con la asignación de 3-vías
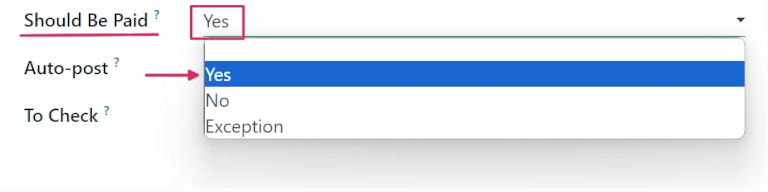
When 3-way matching is enabled, vendor bills display a Should Be Paid field under the Other Info tab. When a new vendor bill is created, the field is set to Yes, since a bill cannot be created until at least some of the products included in a PO have been received.
To create a vendor bill from a PO, navigate to . From the Purchase Orders page, select the desired PO from the list. Then, click Create Bill. Doing so opens a new draft Vendor Bill form, in the Draft stage. Click the Other Info tab, and locate the Should Be Paid field.
Importante
The PO selected from the list must not be billed yet, or an Invalid Operation pop-up window appears. This occurs for POs with a Received quantities policy, and a Fully Billed Billing Status.
Click the drop-down menu next to Should Be Paid to view the available options: Yes, No, and Exception.
Nota
If the total quantity of products from a PO has not been received, Odoo only includes the products that have been received in the draft vendor bill.
Draft vendor bills can be edited to increase the billed quantity, change the price of the products in the bill, and add additional products to the bill.
If the draft bill’s information is changed, the Should Be Paid field status is set to Exception. This means that Odoo notices the discrepancy, but does not block the changes or display an error message, since there might be a valid reason for making changes to the draft bill.
To process the vendor bill, select a date in the Bill Date field, and click Confirm, followed by Register Payment.
This opens a Register Payment pop-up window. From this window, accounting information is pre-populated based on the database’s accounting settings. Click Create Payment to process the vendor bill.
Once payment has been registered for a vendor bill, and the bill displays the green Paid banner, the Should Be Paid field status is set to No.
Truco
The Should Be Paid status on bills is automatically set by Odoo. However, the status can be manually changed by clicking the field’s drop-down menu inside the Other Info tab.
Ver el estado de facturación de una orden
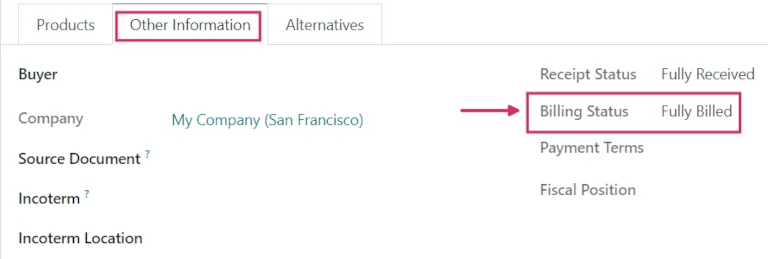
Once a PO is confirmed, its Billing Status can be viewed under the Other Information tab on the PO form.
To view the Billing Status of a PO, navigate to , and select a PO to view.
Click the Other Information tab, and locate the Billing Status field.
The table below details the different values the Billing Status field could read, and when they are displayed, depending on the Bill Control policy used.
Billing Status |
On received quantities |
On ordered quantities |
|---|---|---|
Nothing to Bill |
Orden de compra confirmada, no se han recibido productos |
No aplica |
Waiting Bills |
Todos/algunos productos recibidos; factura no creada |
Orden de compra confirmada |
Fully Billed |
Todos/algunos productos recibidos; borrador de factura creado |
Borrador de factura creado |
Ver también