Perform Quality Checks on Transfers
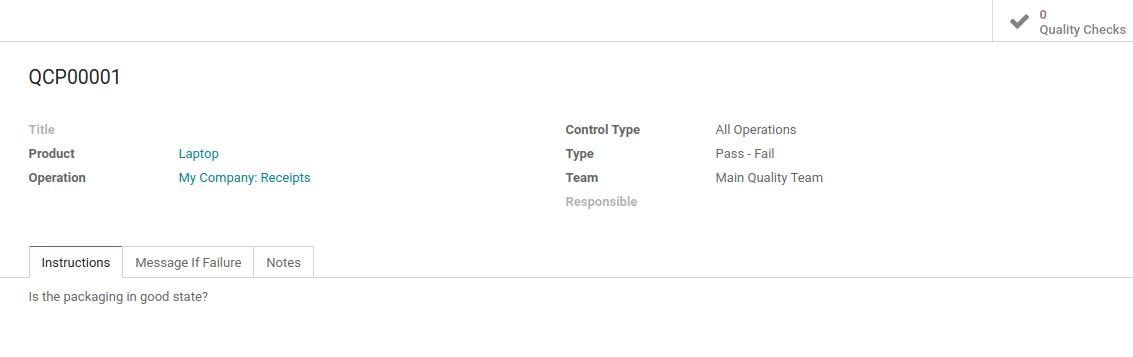
Create the Quality Control Point
To create a Quality Control Point, open the Quality application. Then, go to . Now, you can define the quality control point you want to apply to a specific product. Don’t forget to select a transfer operation type.
Process the Quality Check
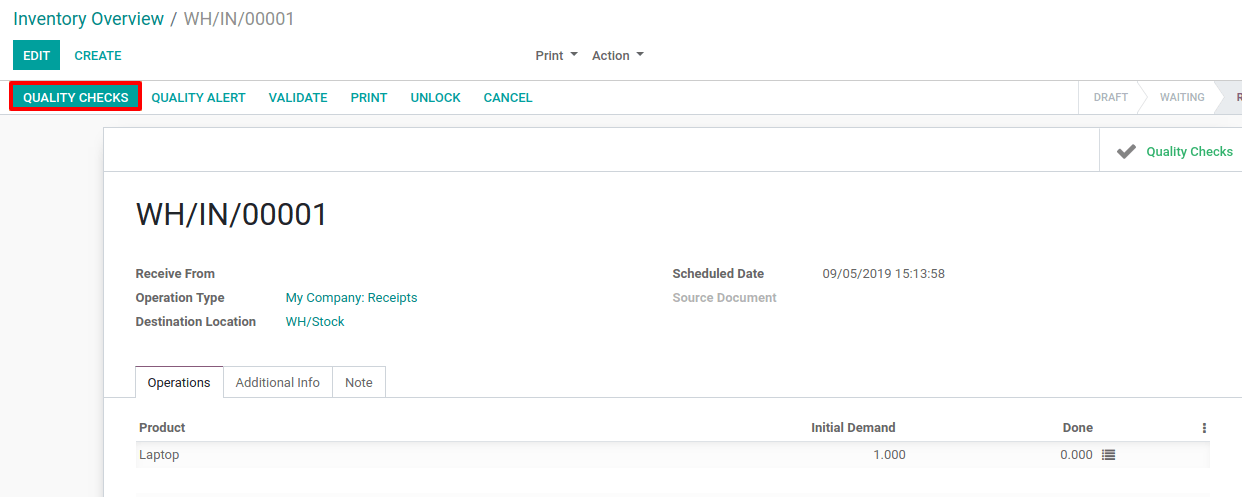
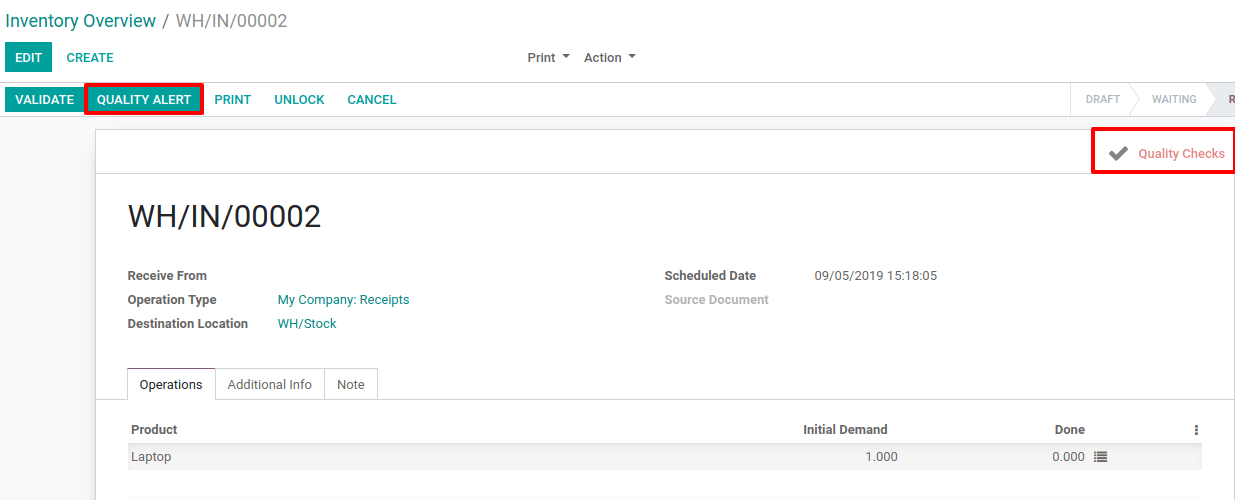
Let’s say that we will receive a laptop. First, create a planned receipt for the product. Then, on the receipt, you will see a Quality Checks button that appears to proceed to the quality check you configured before.
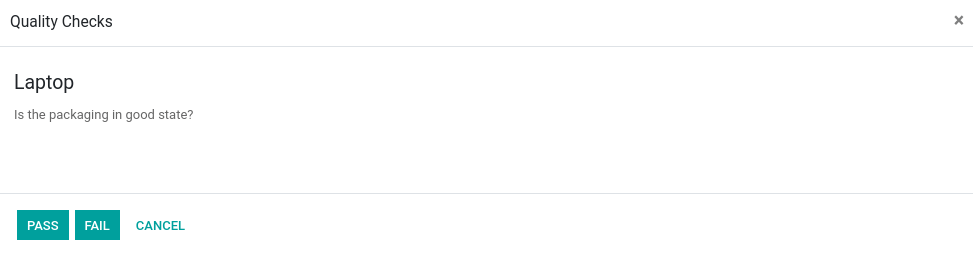
By clicking on it, the instruction set on the quality control point will be displayed and will require the check value.
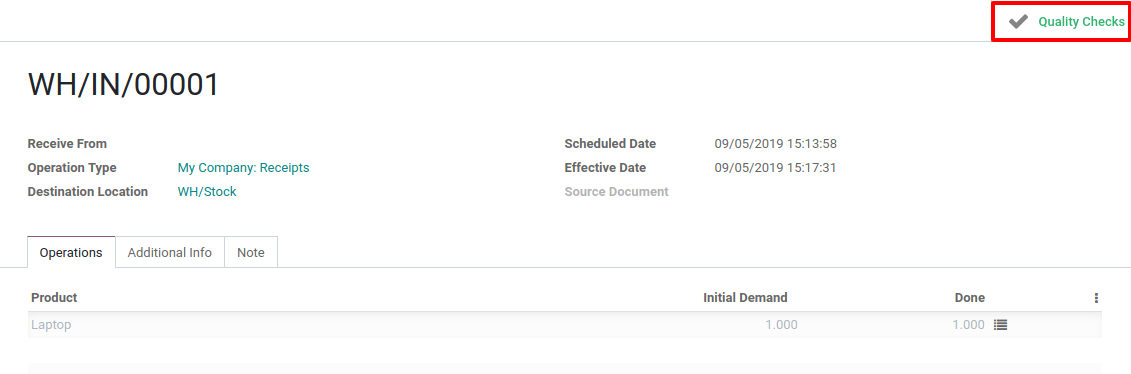
Once the quality check is done, you can find it linked to the corresponding transfer and access it by clicking on the button.
But, if the quality check failed, the stat button will appear in red (instead of green) and Odoo will suggest you to create a Quality Alert by highlighting the corresponding button.
The quality checks can also be found in the Quality application by opening the Quality Checks menu, under Quality Control.
