Transfer products between warehouses using replenishment
For companies that use multiple warehouses, it is often necessary to transfer items between them. This is referred to as an inter-warehouse transfer. Odoo Inventory handles the administrative process of inter-warehouse transfers to ensure that inventory counts remain accurate during and after the transfer. This document will detail the method for conducting an inter-warehouse transfer using replenishment.
Configure warehouses for inter-warehouse replenishment
First, ensure the Multi-Step Routes setting is enabled by navigating to , and then check the box under the Warehouse tab. This will provide additional configuration options when creating a second warehouse that are needed for inter-warehouse replenishment.
By default, Odoo comes with a main warehouse already configured. If an additional warehouse has not already been created, do so now from the Inventory module by selecting . Otherwise, select the warehouse that products will be transferred to from the Warehouses page and then click Edit to change its settings. Configure the warehouse as follows:
Warehouse: choose a name that is not already being used for another warehouse (e.g.
Alternative Warehouse)Short Name: choose a short name by which the warehouse will be identified (e.g.
ALT_WH)
Click Save and the new warehouse will be created. In addition, a new Resupply From field will appear on the warehouse’s form. Click Edit and then check the box next to the warehouse that will be used to resupply the warehouse that is currently being configured.

Note
For the purposes of this demonstration, the warehouse that products are transferred from (outgoing) will be titled “San Francisco”, and the warehouse that products are transferred to (incoming) will be titled “San Francisco 2”.
Configure products for inter-warehouse replenishment
Products must also be configured properly in order for them to be transferred between warehouses. Navigate to and select an existing product or Create a new one, if necessary.
Then, on the product form, go to the Inventory tab and enable the checkbox for X: Supply Product from Y, with X being the warehouse receiving the transferred products and Y being the warehouse that products are transferred from.

Replenish one warehouse from another
Starting in the module, select and then choose the product that will be replenished. Click the Replenish button on the top left of the product page and fill out the pop-up form as follows:
Quantity: the number of units that will be sent to the warehouse being replenished
Scheduled Date: the date that the replenishment is scheduled to take place
Warehouse: the warehouse that will be replenished
Preferred Routes: select
X: Supply Product from Y, with X being the warehouse to be replenished and Y being the warehouse that the product will be transferred from

Click Confirm and a delivery order will be created for the outgoing warehouse along with a receipt for the warehouse that will receive the product. Depending on the configuration settings for the outgoing and incoming warehouses, processing delivery orders and receipts will require between one and three steps. This document will detail how to process one-step deliveries and receipts.
Process the delivery order
The first stage of a replenishment order is processing the delivery from the warehouse that the product is being transferred from. On the dashboard, select the X to Process button on the Delivery Orders card for the outgoing warehouse, then the delivery order created for the replenishment. On the delivery order page, click the Check Availability button in the top left to reserve the quantity of the product to be transferred. Once the delivery has been dispatched, click the Validate button to register the quantities shipped.

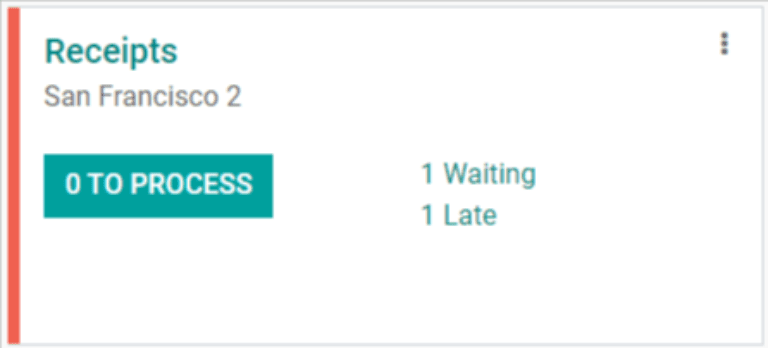
Process the receipt
Once the goods arrive at the incoming warehouse, the receipt created for that warehouse must be processed as well. Return to the dashboard and select the X to Process button on the Receipts card for the incoming warehouse, then the receipt created for the replenishment. On the receipt page, click the Validate button in the top left of the page to register the quantities received.
After processing the receipt, the products transferred will now appear in the inventory of the incoming warehouse. The stock numbers for both warehouses can be viewed by returning to the product page and selecting the X Units On Hand button at the top of the screen.
Automate inter-warehouse replenishment
Using reordering rules, it is possible to automate the process of replenishing one warehouse from another.
To get started, navigate to , and then choose the product that will be replenished. From the product page, select the Reordering Rules smart button at the top of the form, and then on the next page, click Create to configure the form as follows:
Location: the location that the reordering rule will replenish when triggered, in this case, the incoming warehouse
Min Quantity: when the quantity on hand at the incoming warehouse falls below this number, the reordering rule will be triggered
Max Quantity: when the reordering rule is triggered, the product will be replenished at the incoming warehouse up to this quantity
Multiple Quantity: specify if the product should be replenished in batches of a certain quantity; for example, a product could be replenished in batches of 20
UoM: the unit of measure used for reordering the product; this value can simply be
Units, or a specific unit of measurement for weight, length, etc.

Finish by clicking Save and the reordering rule will be created. Now, when the scheduler runs automatically each day, a transfer will be created for each reordering rule that has been triggered.
Tip
To manually trigger reordering rules, start from the module and select , then click the green Run Scheduler button in the pop-up that appears.
After the scheduler runs, a delivery order and receipt will be created for the outgoing and incoming warehouses, respectively. Both the delivery order and receipt should be processed using the same method as detailed above.